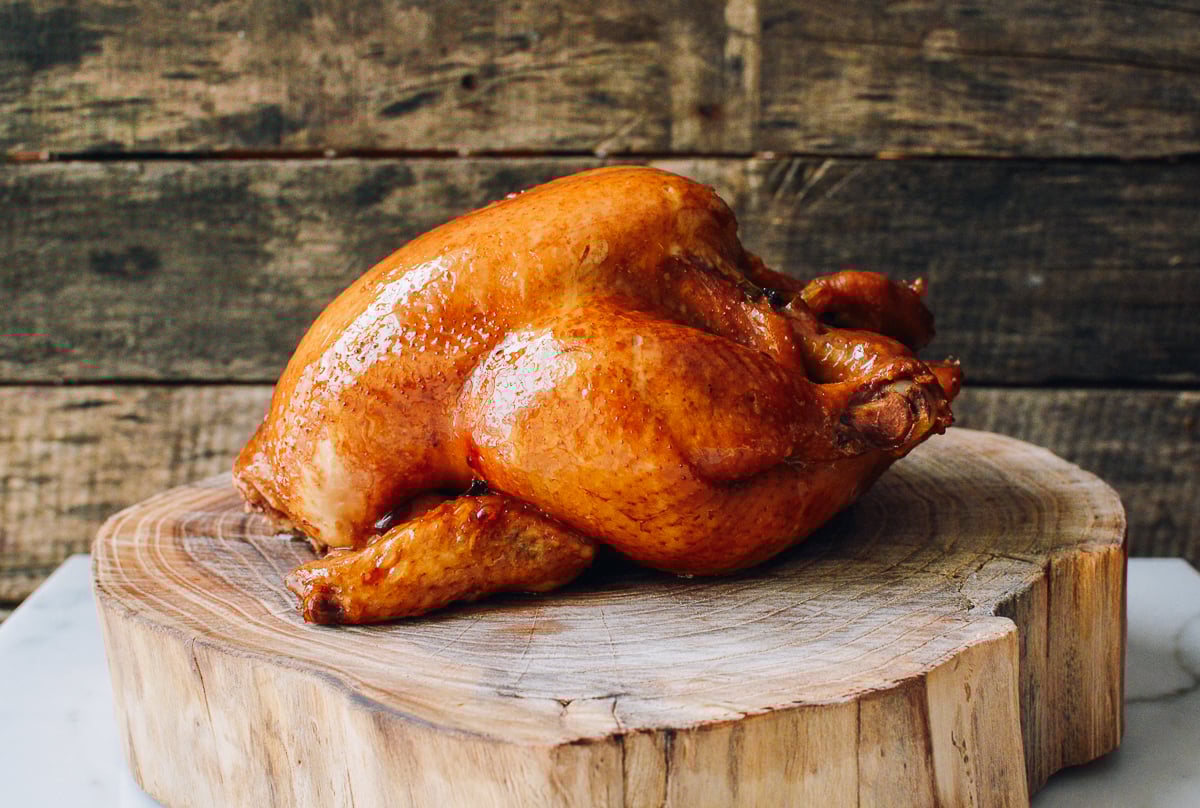
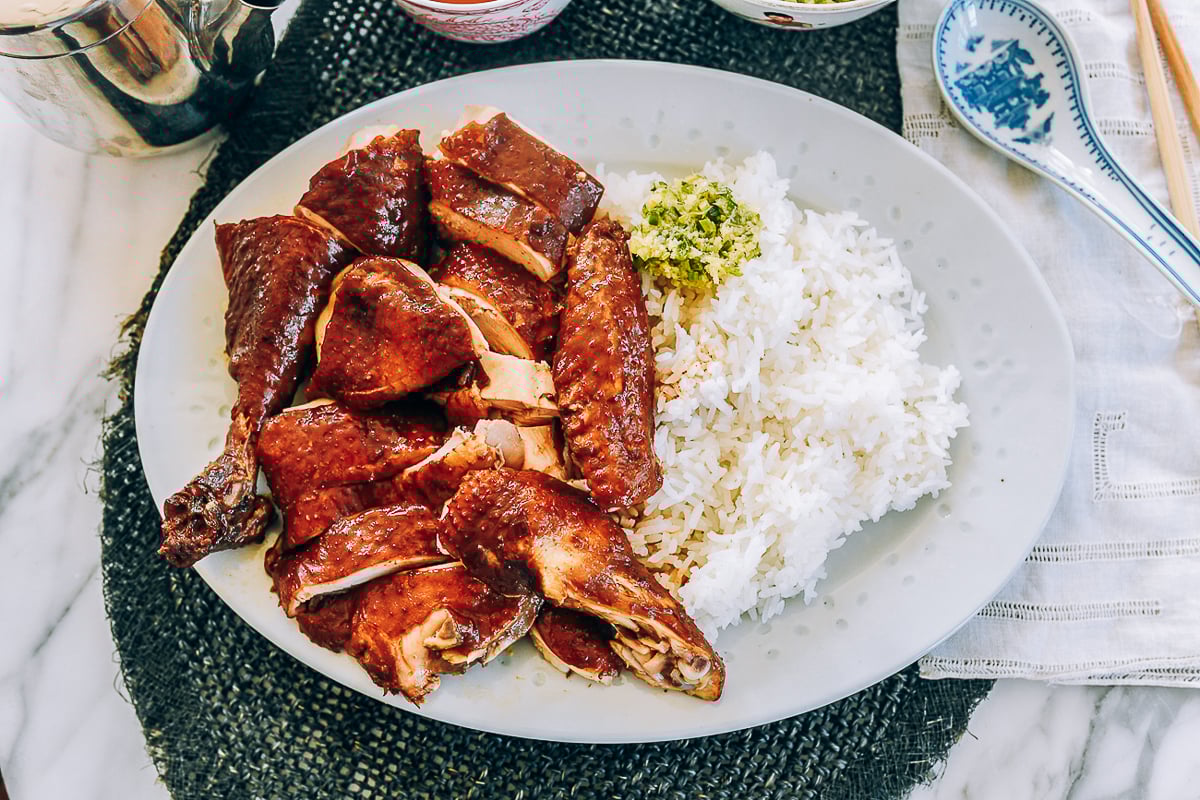
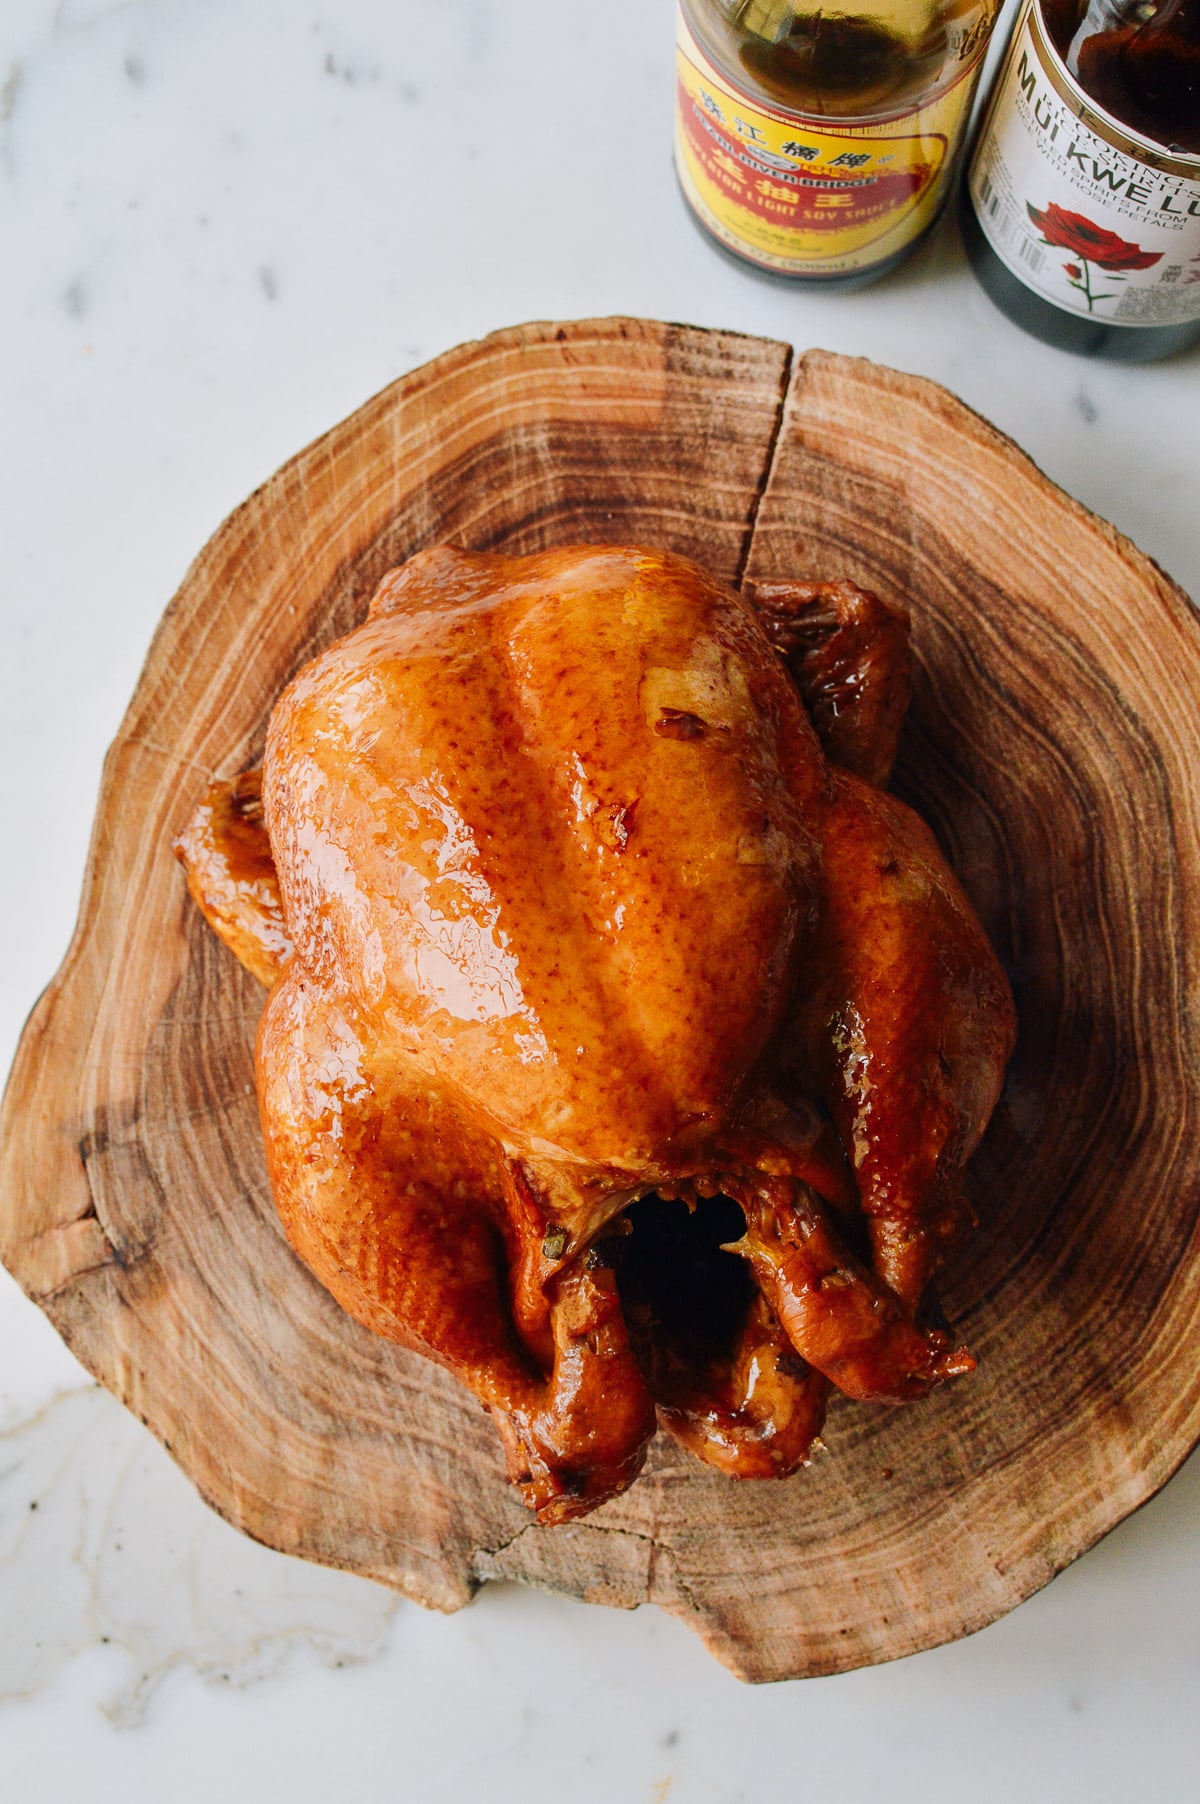
Soy Sauce Chicken or “See Yao Gai” is a quintessential Cantonese favorite. You can find it hanging under heat lamps in many Chinatown restaurant windows, near the poached chickens, roast ducks, and roast pork. All have their merits, but a Soy Sauce Chicken done right is tough to beat.
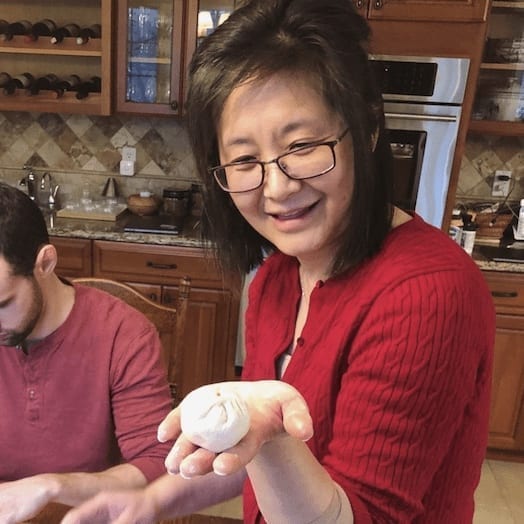
It’s Judy’s favorite food to pick up when in Chinatown, and there is just something about the flavor of this chicken that makes it so satisfying. These days, a 4-pound soy sauce chicken runs about 25 bucks, which is totally worth it, but also more reason to make it at home.
The cooking method for soy sauce chicken is similar to the one used in our Cantonese Poached Chicken w/ Ginger Scallion Oil (bai qie ji), recipe, but the similarities end there. Stewed soy sauce, aromatics and spices are the essence of this dish.
After you make it once or twice, feel free to adjust the amounts of sauces and spices to your own taste. It took me a few tries to get the right ratio of ingredients! Keep scrolling for our step-by-step recipe, recipe card, and a YouTube video showing you how to make it.

Note:
This recipe was originally published on February 28, 2015. We’ve since re-tested and updated it, with the addition of clearer images, an instructional video, metric measurements, and additional information. Enjoy!
What is a Buddhist-Style Chicken?
A Buddhist style chicken, sometimes called “Chinatown chickens” are different from the whole chickens you buy at the grocery store—even the pasture-raised, organic ones. We really prefer them for soy sauce chicken and also Cantonese poached chicken.
The most obvious feature of a Buddhist chicken is that it comes with the head and the feet on. However, over the past few years, we’ve learned from our friends at Bo Bo Poultry Market, a family owned, multi-generational New York Chinatown business, that more often than not Buddhist-style chickens are quite literally a breed of their own.
These Chinatown chickens are typically traditional heritage breeds that take 2-3x longer to raise than mass farmed chickens. They yield a taste and texture that modern chicken farming practices can’t achieve. The meat has a silky texture, tons of chicken flavor, and thicker skin that seems to naturally baste the chicken as it cooks.
They’re more like the chickens we have been eating for centuries before now. Mass market chickens are bred to prioritize speed-to-market and to maximize white meat. Though it’s important to note that fast growing breeds of chicken that don’t have the same taste and texture of heritage breeds can still be processed in the Buddhist style—i.e., with the head and feet left on. Any breed of chicken can be processed Buddhist style.
So when you’re at the store or your local butcher, the tell tale sign is that the chicken skin will have a stronger yellow hue to it, the breast will be smaller, and in general the chicken will be more oblong. It won’t have that plump perfectly round shape of a grocery store chicken.
The farms that produce Buddhist chickens are typically family-owned and locally-operated, so they may not be the easiest to find. If you head to your local Chinatown or Chinese grocery store you should be able to find one.
(If you’re looking specifically for Bo Bo Poultry, we live in New Jersey, and we’ve found a small yet reliable supply of them at Top Quality Food Market on Route 46 in Parsippany. You can also sometimes find them on Say Weee.)
Let’s get on with the recipe.
Soy Sauce Chicken: Recipe Instructions
Preparation
Take your chicken out of the refrigerator an hour before you plan to cook. You’ll want it at room temperature when it hits the pot. Remove the giblets. Thoroughly rinse the chicken inside and out.
Grab your stock pot. It will ideally be a tall, narrow pot that will just fit the chicken, since it should be totally submerged in the cooking liquid (if you use a larger pot, you’ll need to increase all the ingredients proportionally to create more cooking liquid). Put it over medium low heat, and add the oil and ginger.
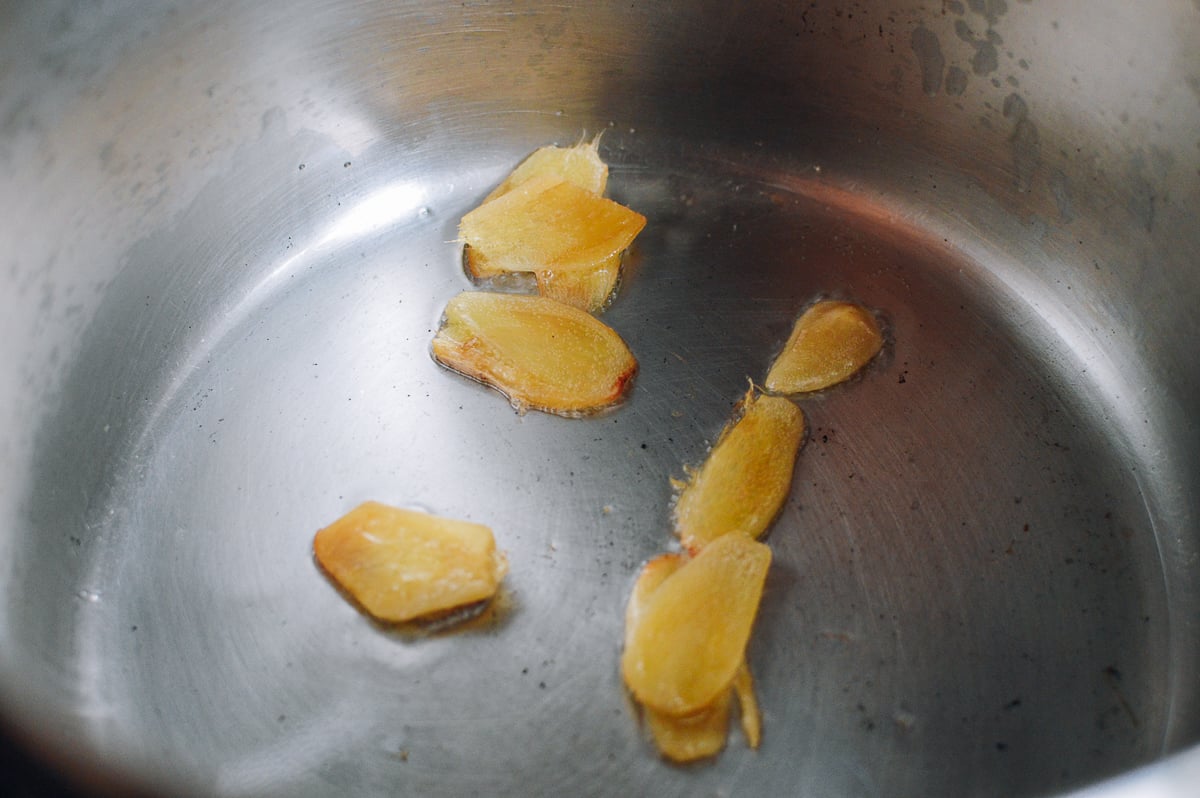
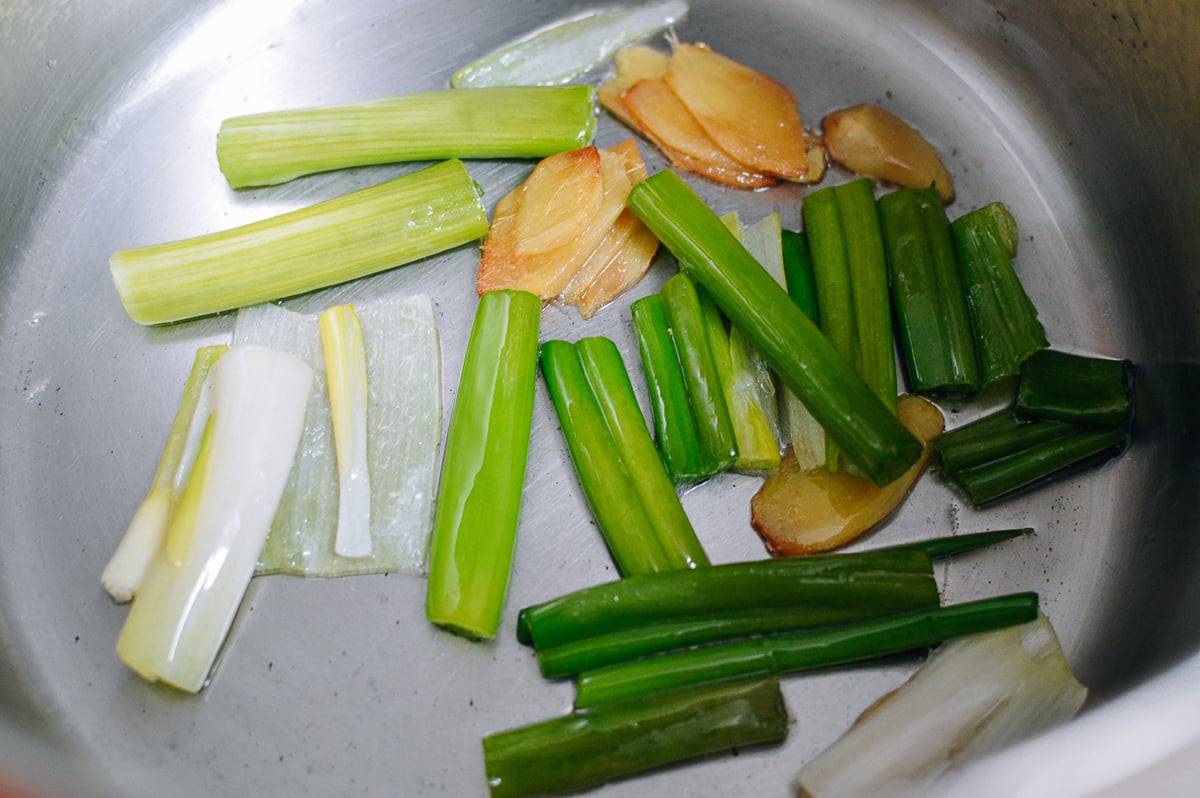
Let the ginger caramelize for about 30 seconds. Then add the scallions and cook another 30 seconds.
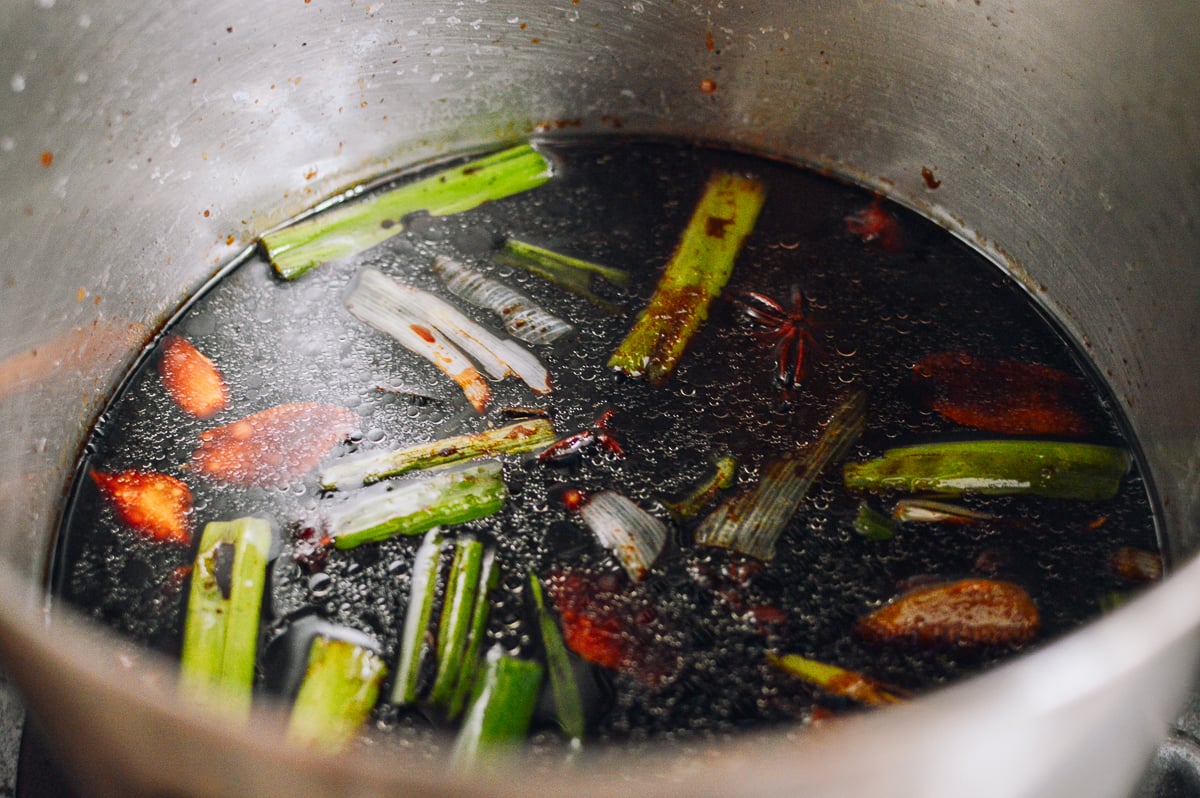
Add the star anise and wine (you can use rose-flavored wine (mei gui lu), shaoxing wine, or a mix of both), and bring to a simmer to let some of the alcohol cook off. Add the soy sauce, dark soy sauce, sugar, salt, and water. Bring to a simmer again and cook on low heat for another 20 minutes.
Dropping the Chicken in The Pot
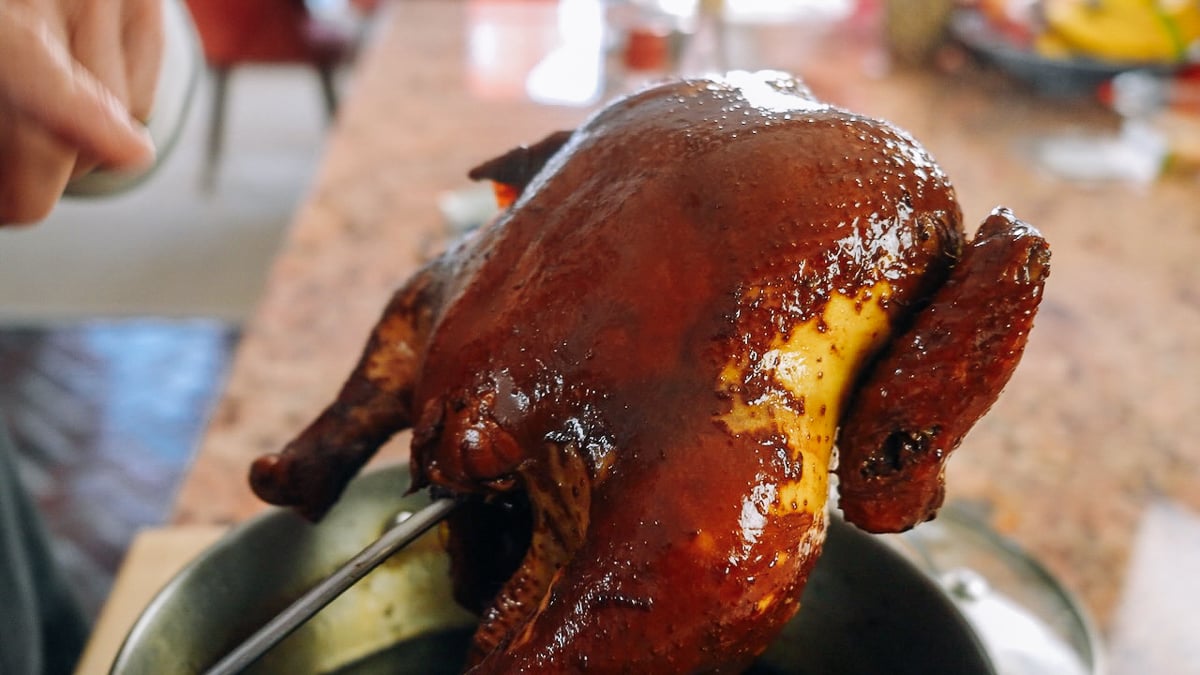
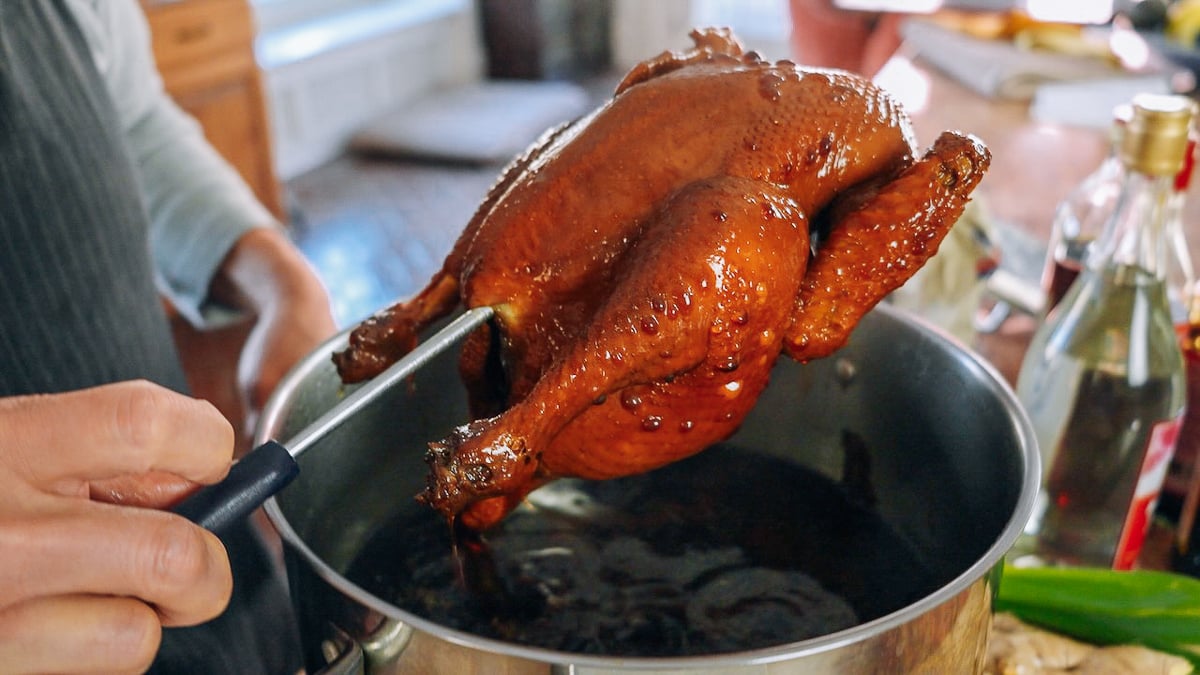
Increase the heat to bring the liquid to a slow boil (i.e. a little stronger than a simmer, but not a rolling boil). Use a large roasting fork inserted into the chicken cavity to lower the chicken slowly into the pot breast side up. Make sure any air pockets in the cavity fill up completely with liquid. The chicken should be entirely submerged at this point.
Once the chicken goes in, the cooking liquid will cool down. Let it cook for about 5 minutes at medium high heat. Next, use your large fork to carefully lift the chicken out of the water and empty the liquid inside the cavity, which will be cooler than the liquid surrounding the chicken. Lower the chicken back into the pot, making sure once again that there aren’t any air pockets in the cavity. If the chicken is not completely in the liquid, periodically baste the exposed area with cooking liquid.
Bring the liquid back up to a lazy simmer, which should take about 5 minutes. Cover and keep it at this slow simmer for 25 minutes. (Just below boiling – the liquid will be about 210°F/99°C.) If the chicken (breast side up) is exposed and not submerged you can baste the chicken with the liquid a few times during this 25 minutes of cooking. You can also turn the chicken over (breast side down) at the halfway point (after 13 mins) and turn the chicken back over breast side up after the full 25 minutes.
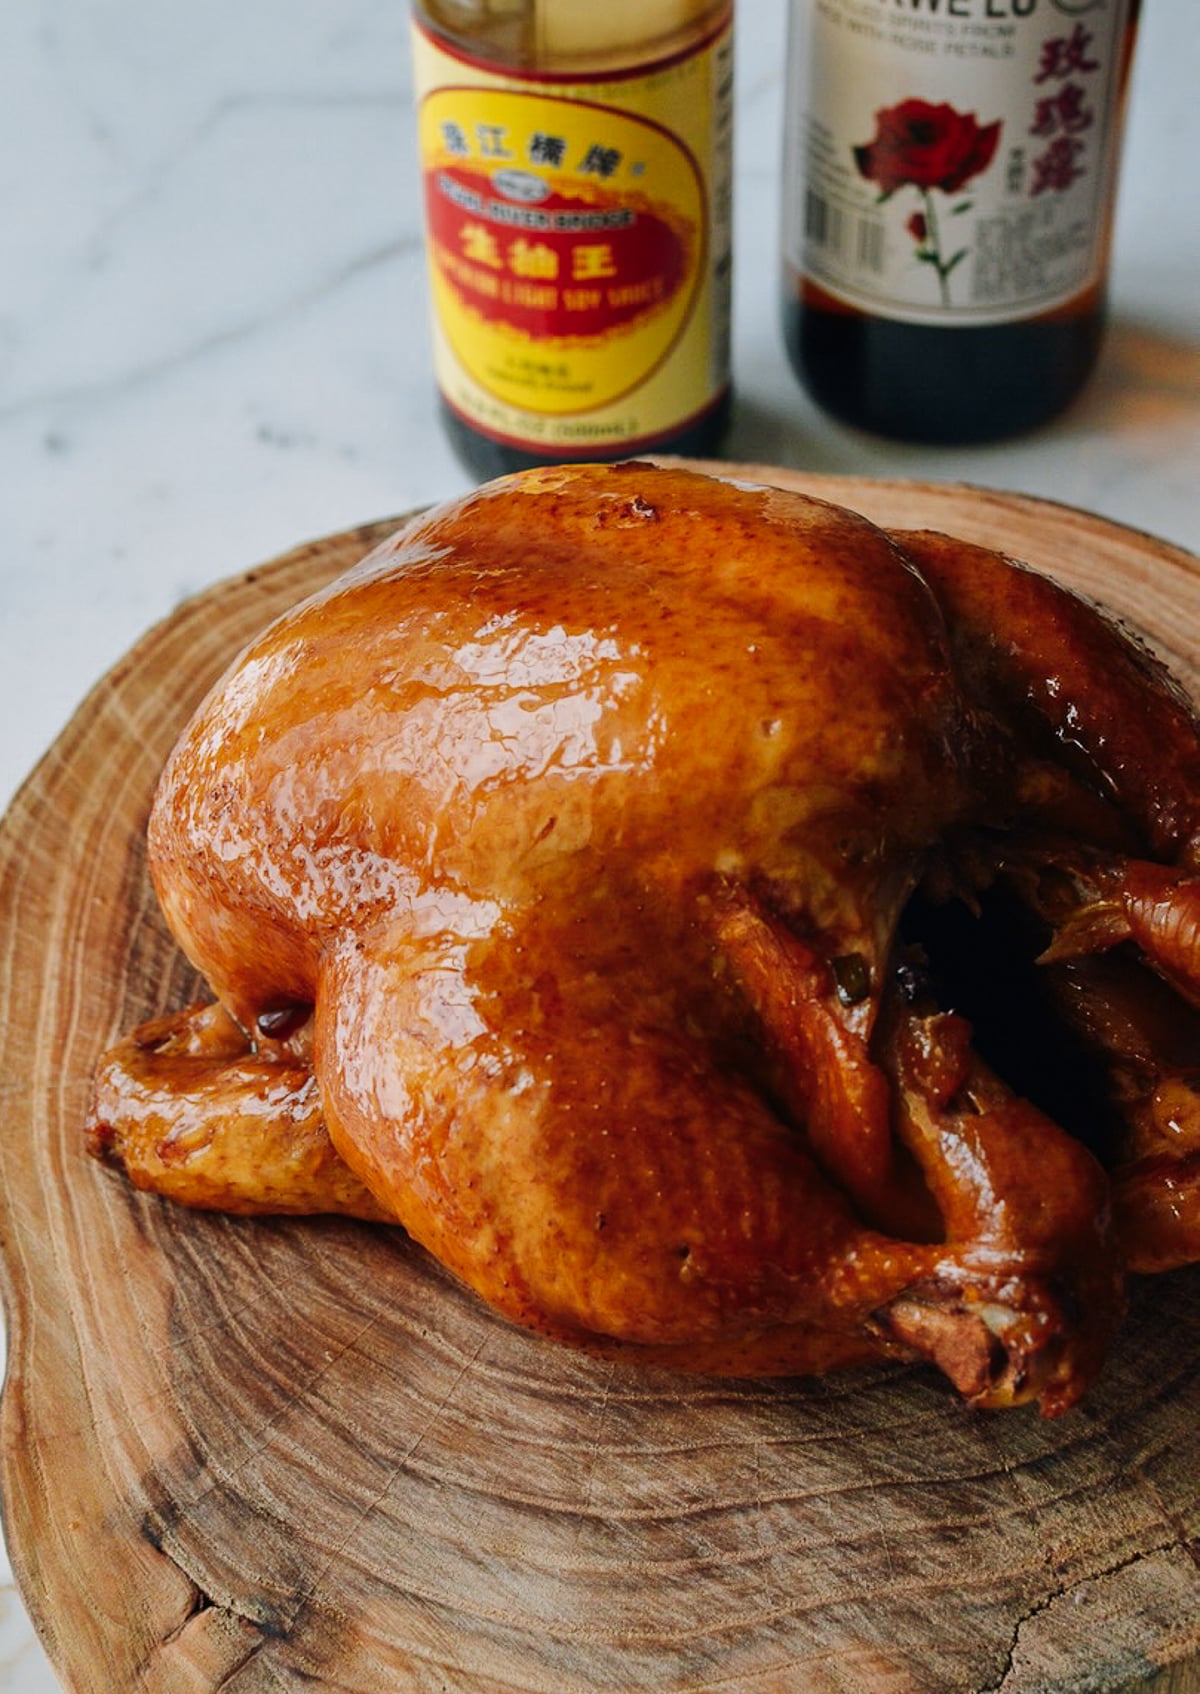
Turn off the heat, keeping the pot covered. Let the chicken sit (breast side up) in the pot for another 15 to 25 minutes, depending upon the size of your chicken. Use a meat thermometer inserted into the thickest part of the thigh to confirm it’s reached 165°F/74°C. It’s good to check a couple of times in different places because you don’t want to undercook or overcook the chicken. Transfer the chicken to a plate and let it rest for 10 to 15 minutes before cutting.
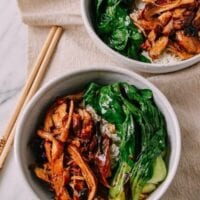
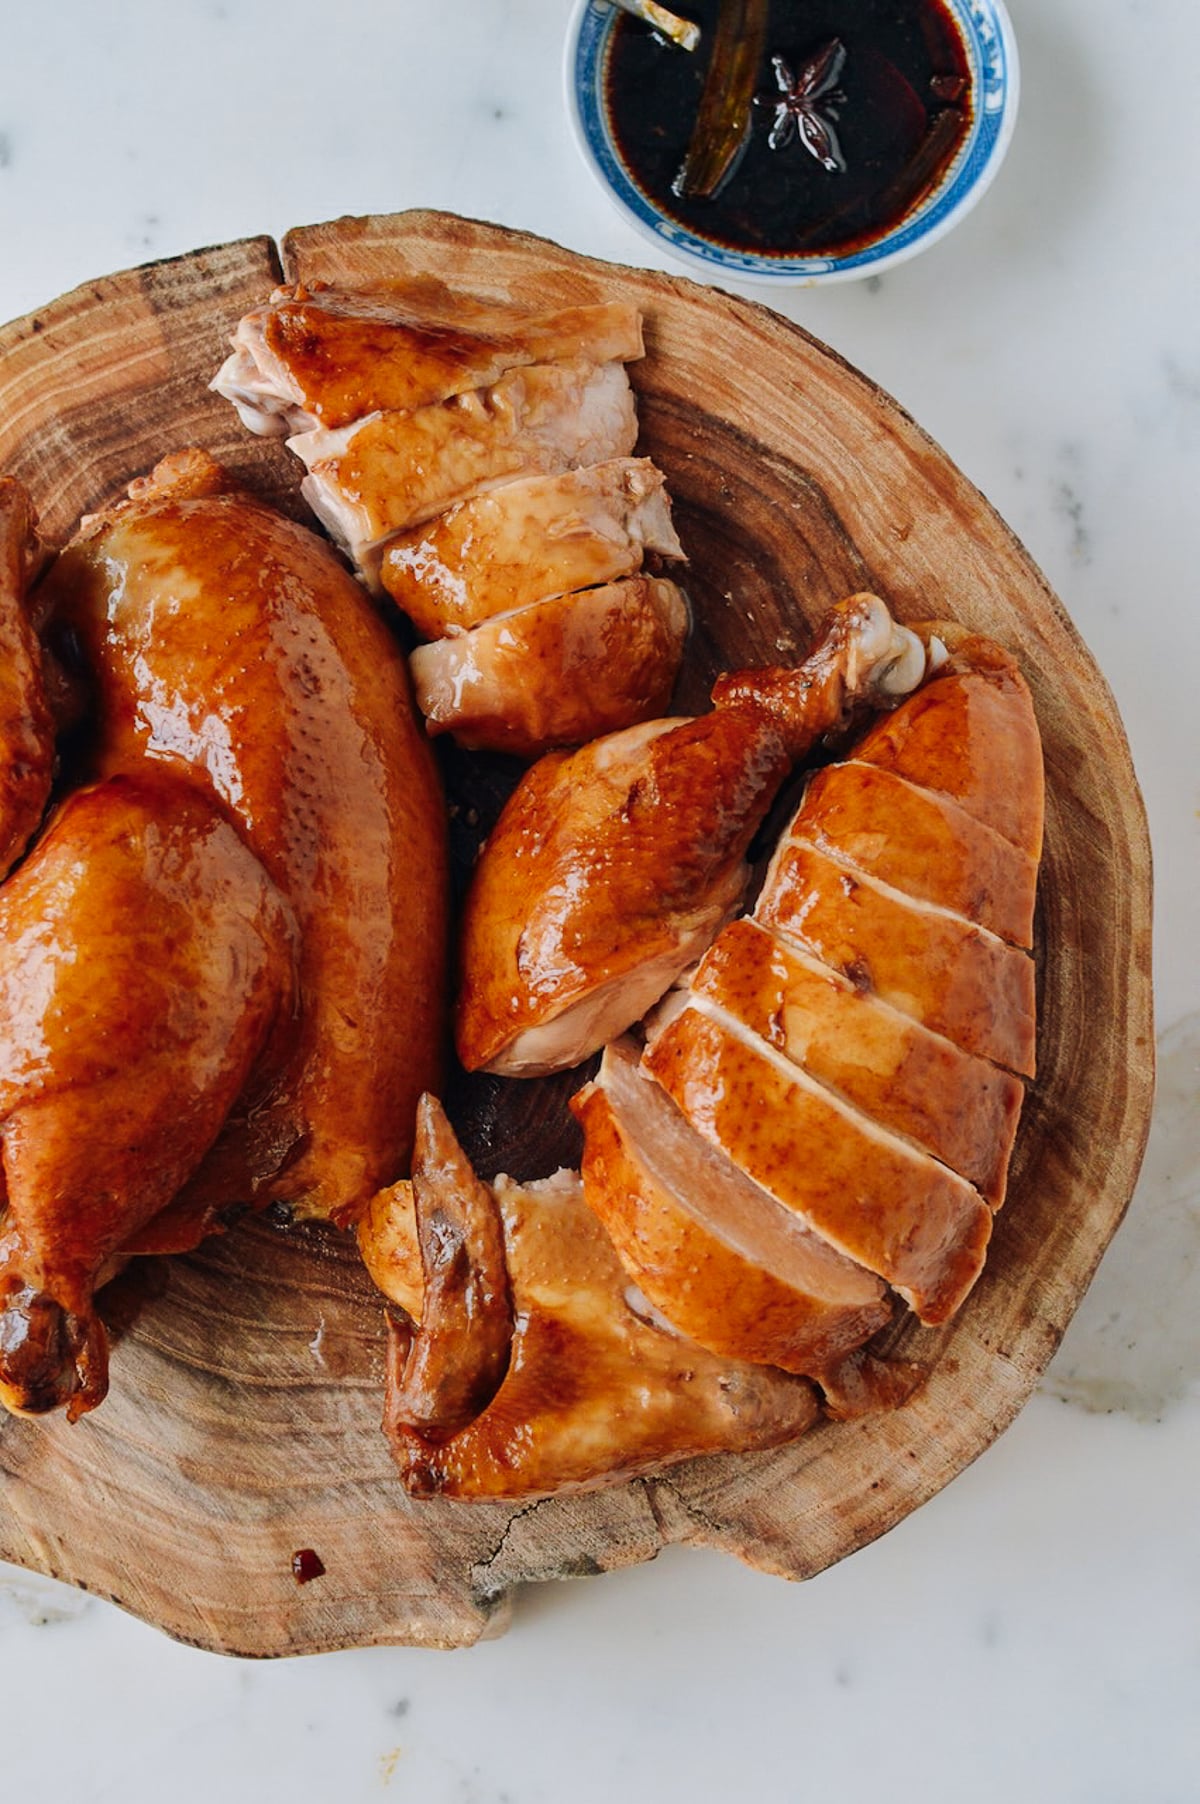
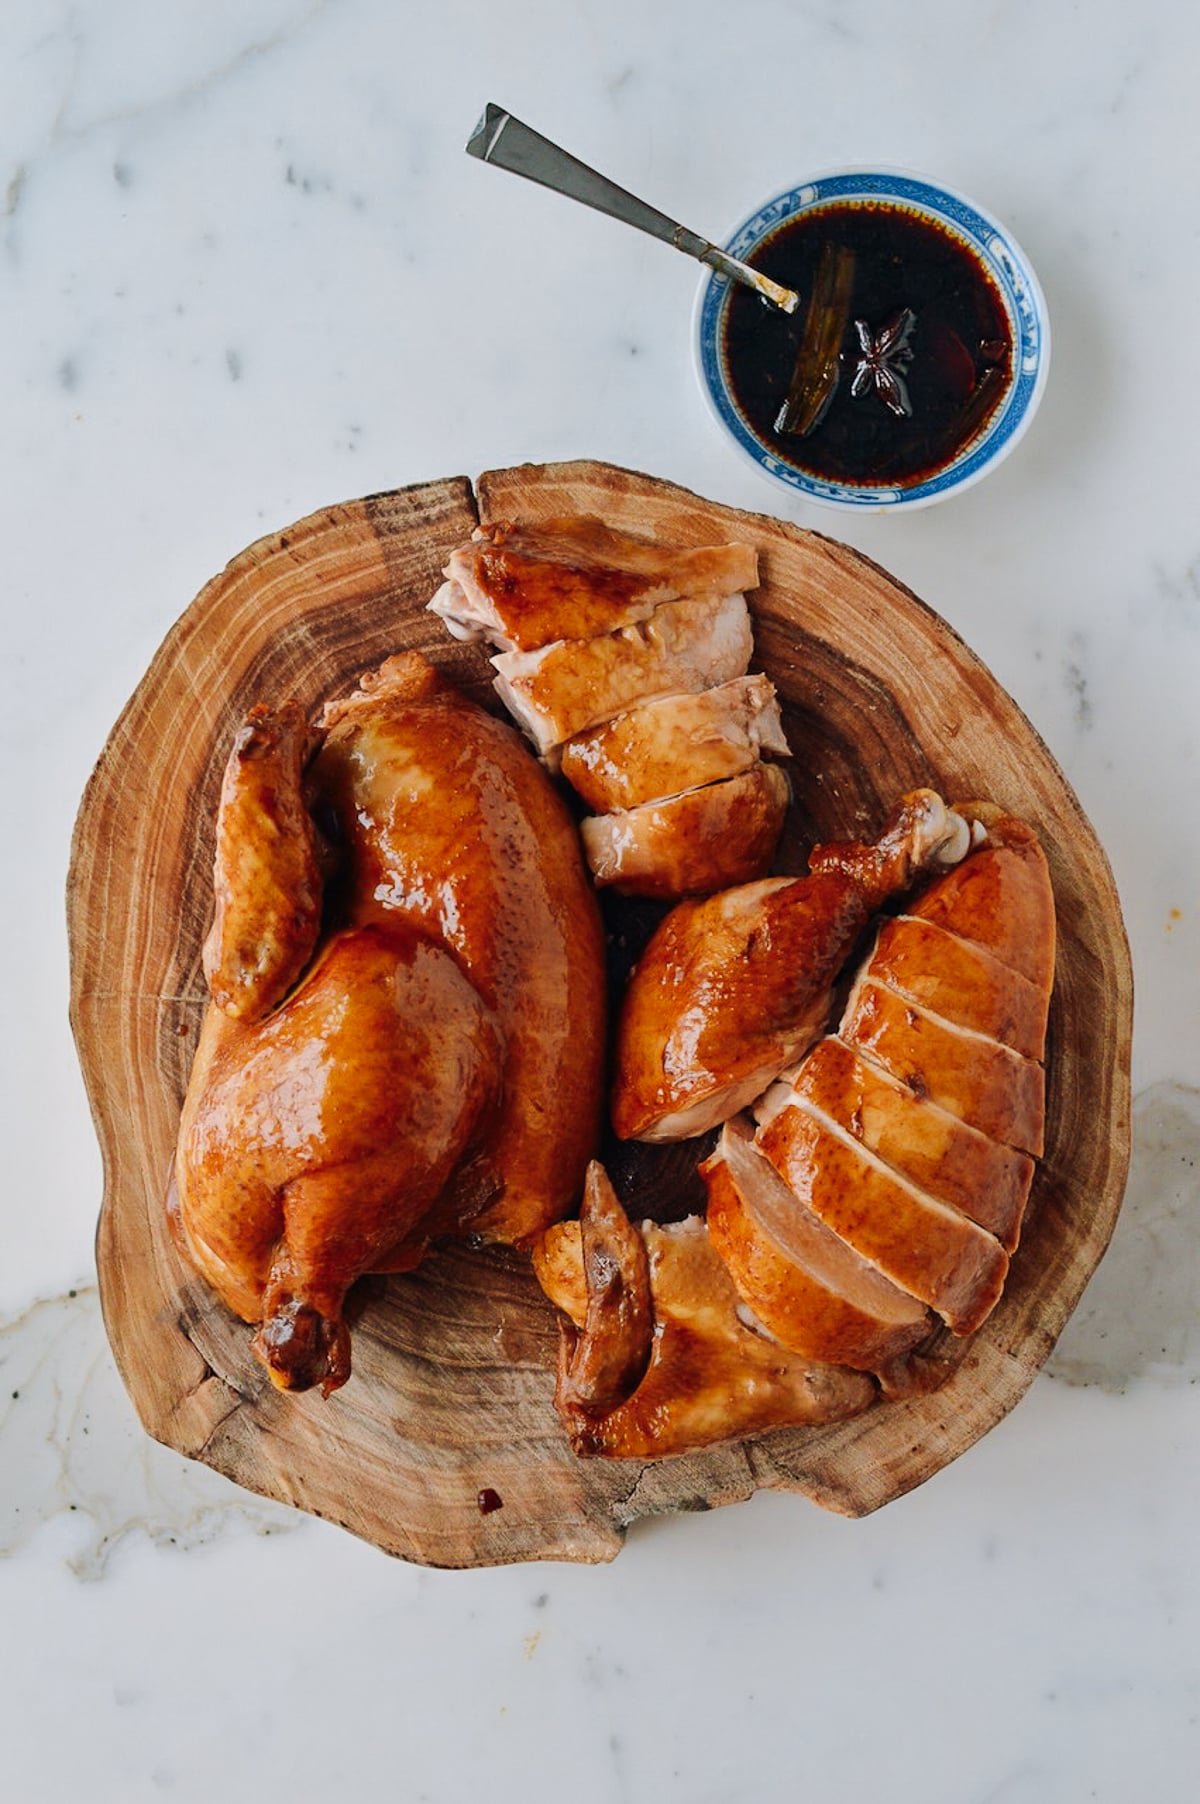
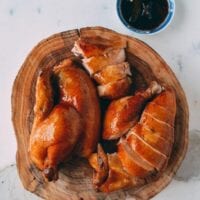
Serving
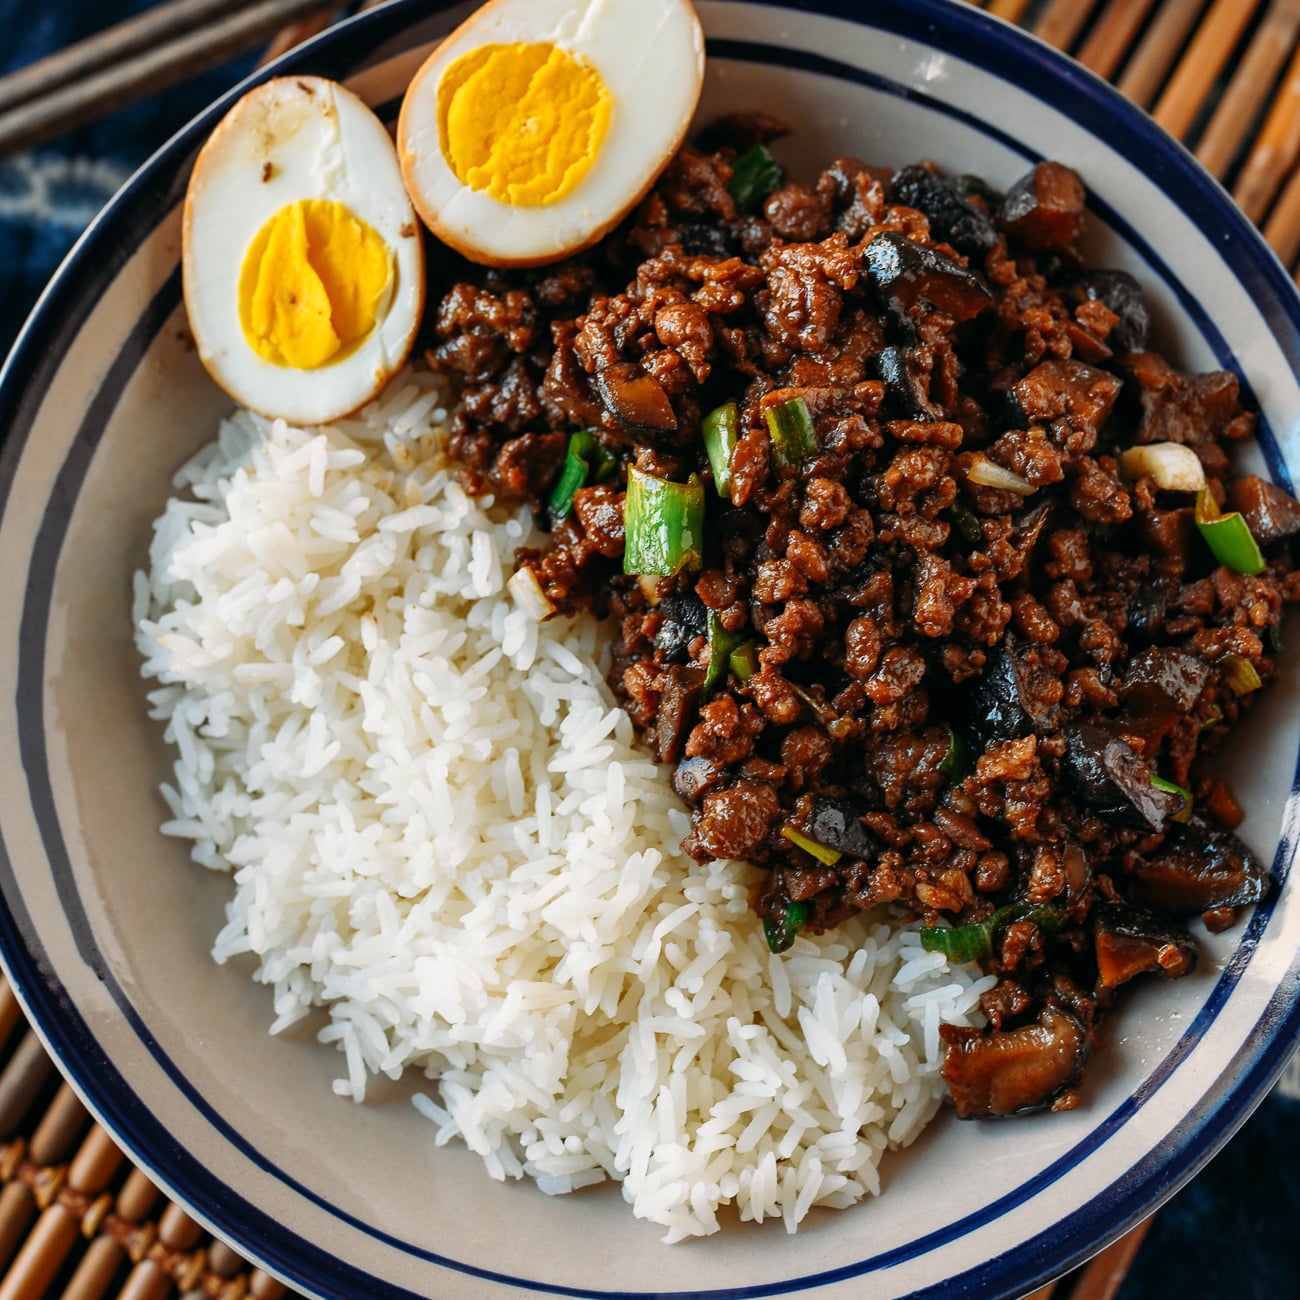
Use the sauce/oil from the braising pot to occasionally brush the chicken and keep the skin moist as it cools. Serve over rice with some sauce from the pot, and perhaps some ginger scallion oil! (See our post on how to cut a whole chicken Chinese-style for carving tips.)
Tip!
You can also make this recipe with chicken leg quarters or other parts. Reduce the cooking time accordingly, since they are easier to handle and faster to cook. Also, you can actually freeze the sauce/cooking liquid for use again later (though you may have to re-season the sauce).
Why is the Color of My Soy Chicken Uneven?
Uneven coloring is likely due to the breed of the chicken and processing. When chickens are processed and feathers removed, the rough, yellow epidermis layer, which has a natural waxy coating, is removed using scalding hot water.
The remaining layer of tender skin is what we know as the “chicken skin”. Sometimes parts of the epidermis layer linger, and you can see darker yellow pieces of skin and maybe even some residual waxy coating. If the epidermis is not thoroughly clean, it can result in uneven or splotchy coloration.
The solution to this is to firmly, yet gently rub salt all over the chicken. The salt acts as an abrasive to “clean” the chicken skin. You may have seen the technique of ladling boiling water over the raw chicken before lowering it in the sauce. We prefer this salt rubbing technique.
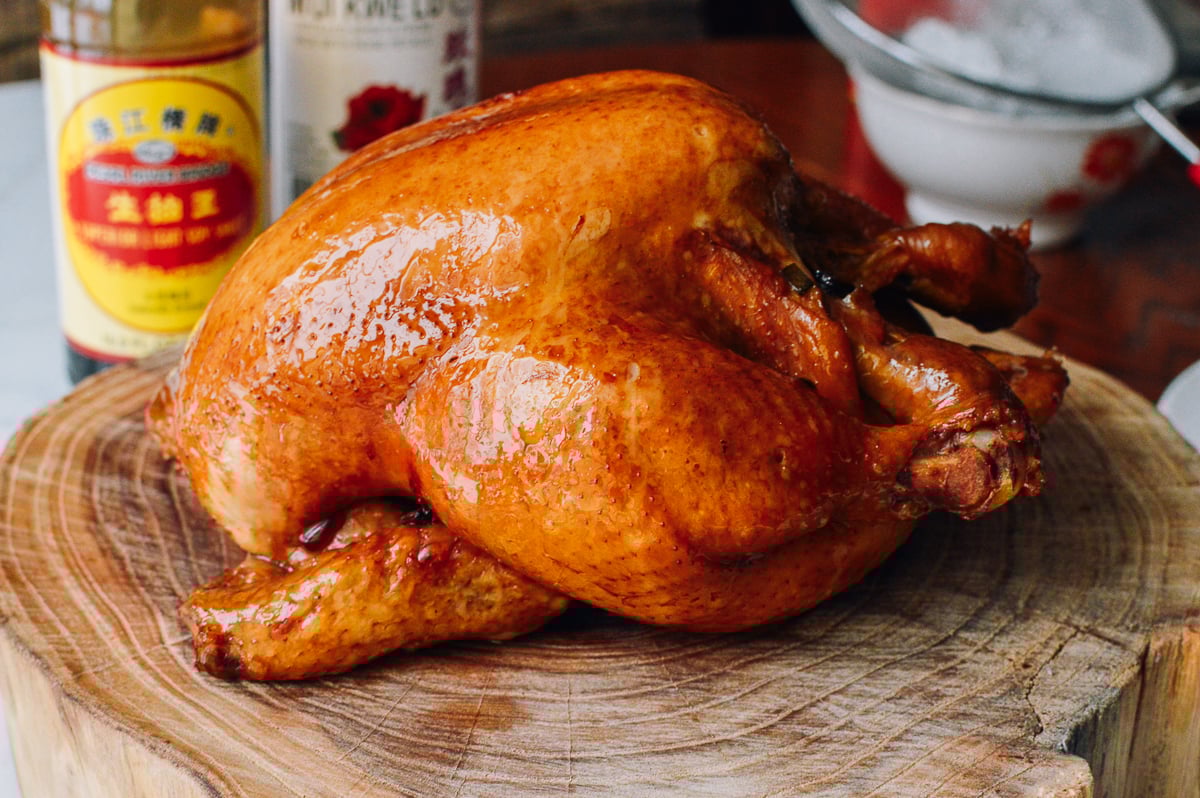
Another factor for uneven coloring is the breed of chicken itself. Buddhist chickens tend to have a thicker skin (prized by the Chinese). Because of the breed and the longer time these chickens take to grow, the skin tends to absorb the soy sauce color better. This is why we like to use them!
Can I Use the Braising Sauce Again?
You can reuse the soy sauce chicken braising sauce, or “Master sauce.” After the master sauce is cool but still slightly warm, pour the liquid through a strainer to remove the solids. It’s best to use a fine mesh strainer a second time to remove other solids (from the chicken blood and juices) to maintain a clean sauce.
After straining the master sauce, pour it into containers to freeze. When filling your container(s), leave about an inch of space on the top for expansion. Otherwise, the liquid may overflow and you’ll have a mess in your freezer.
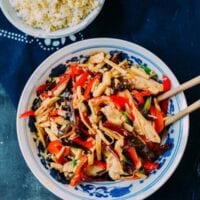
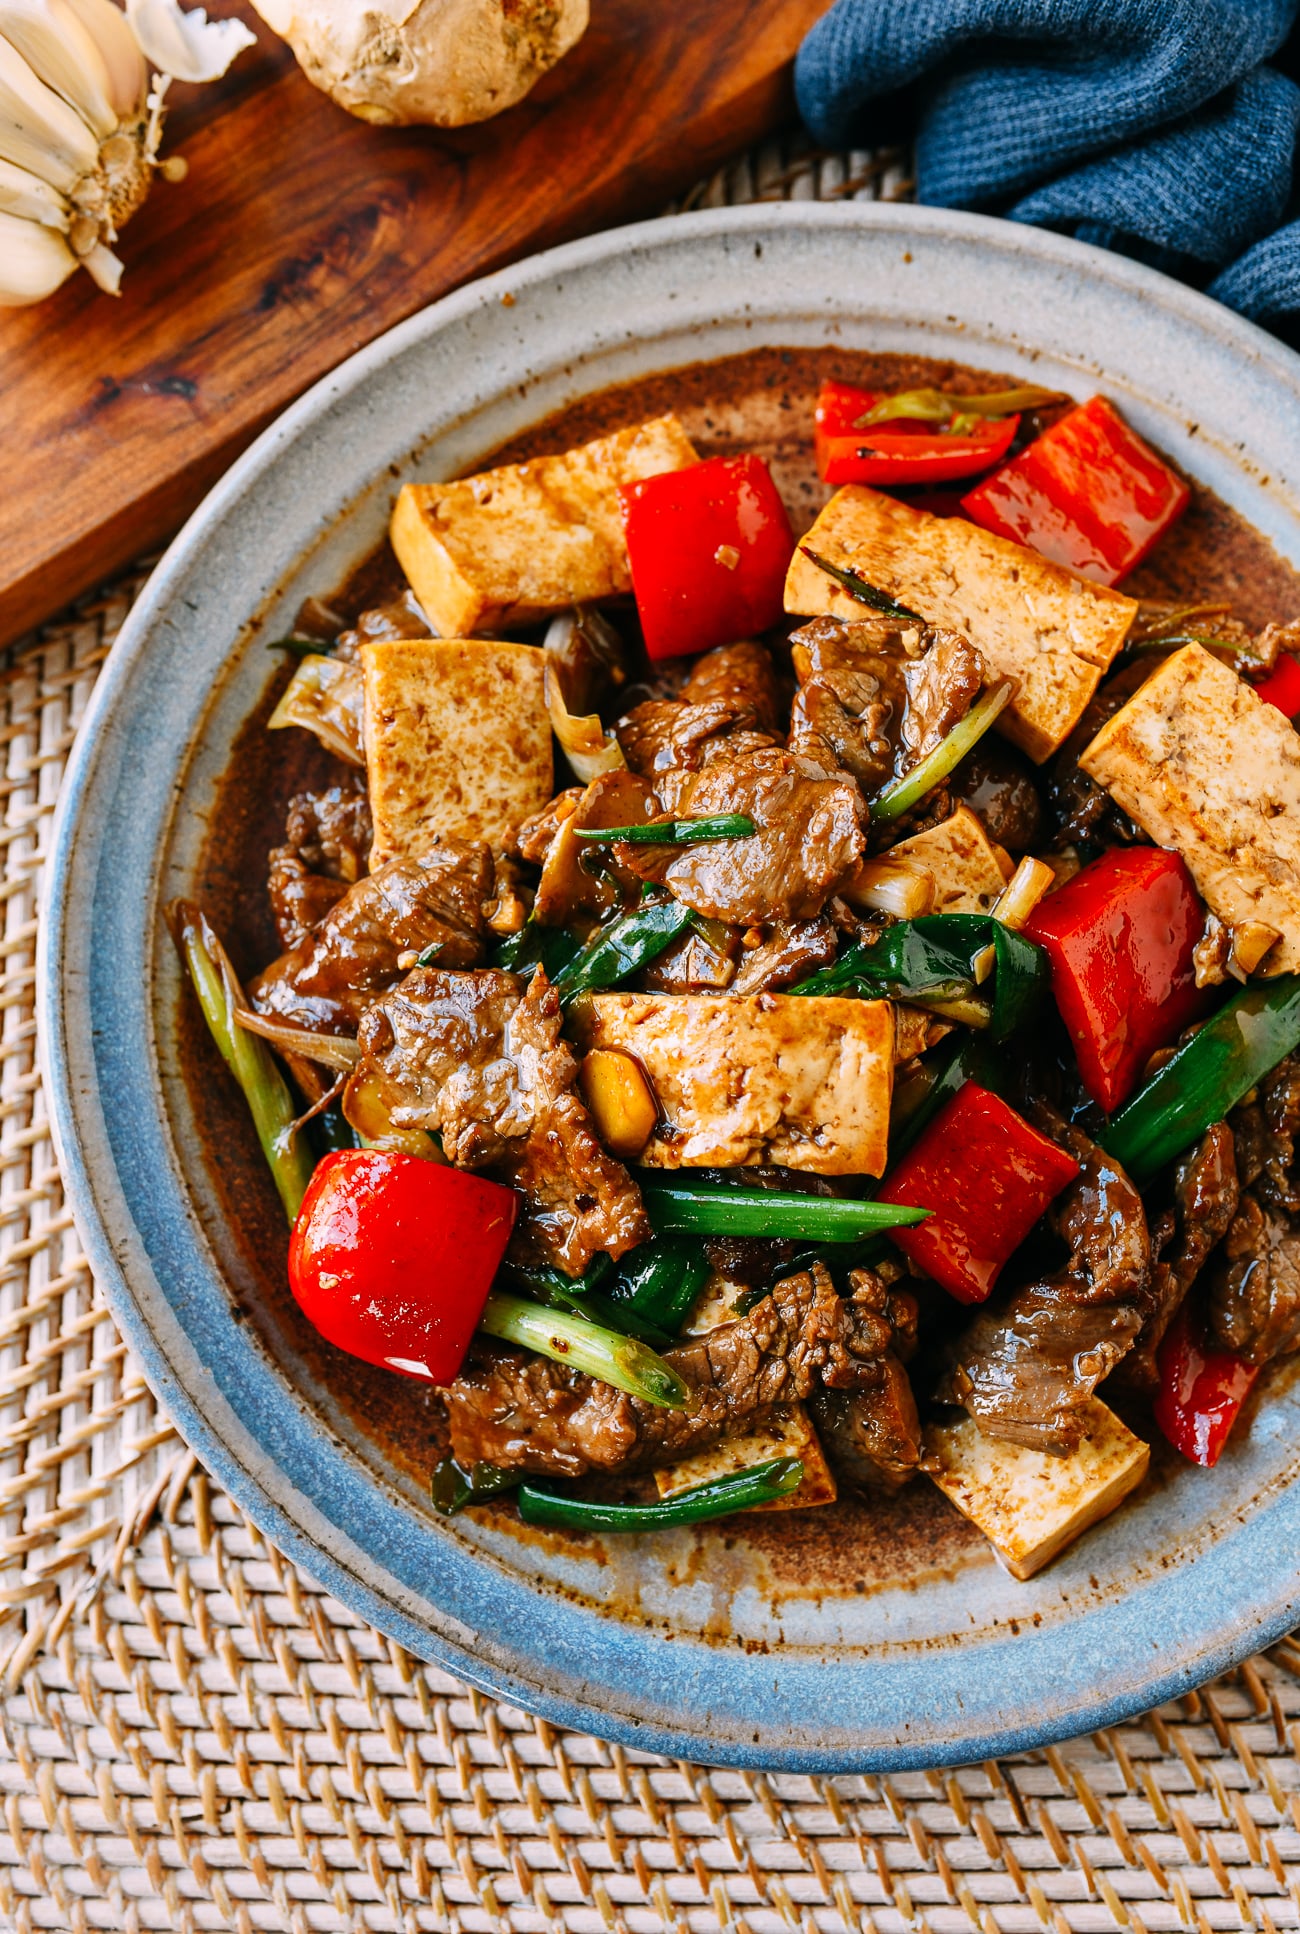
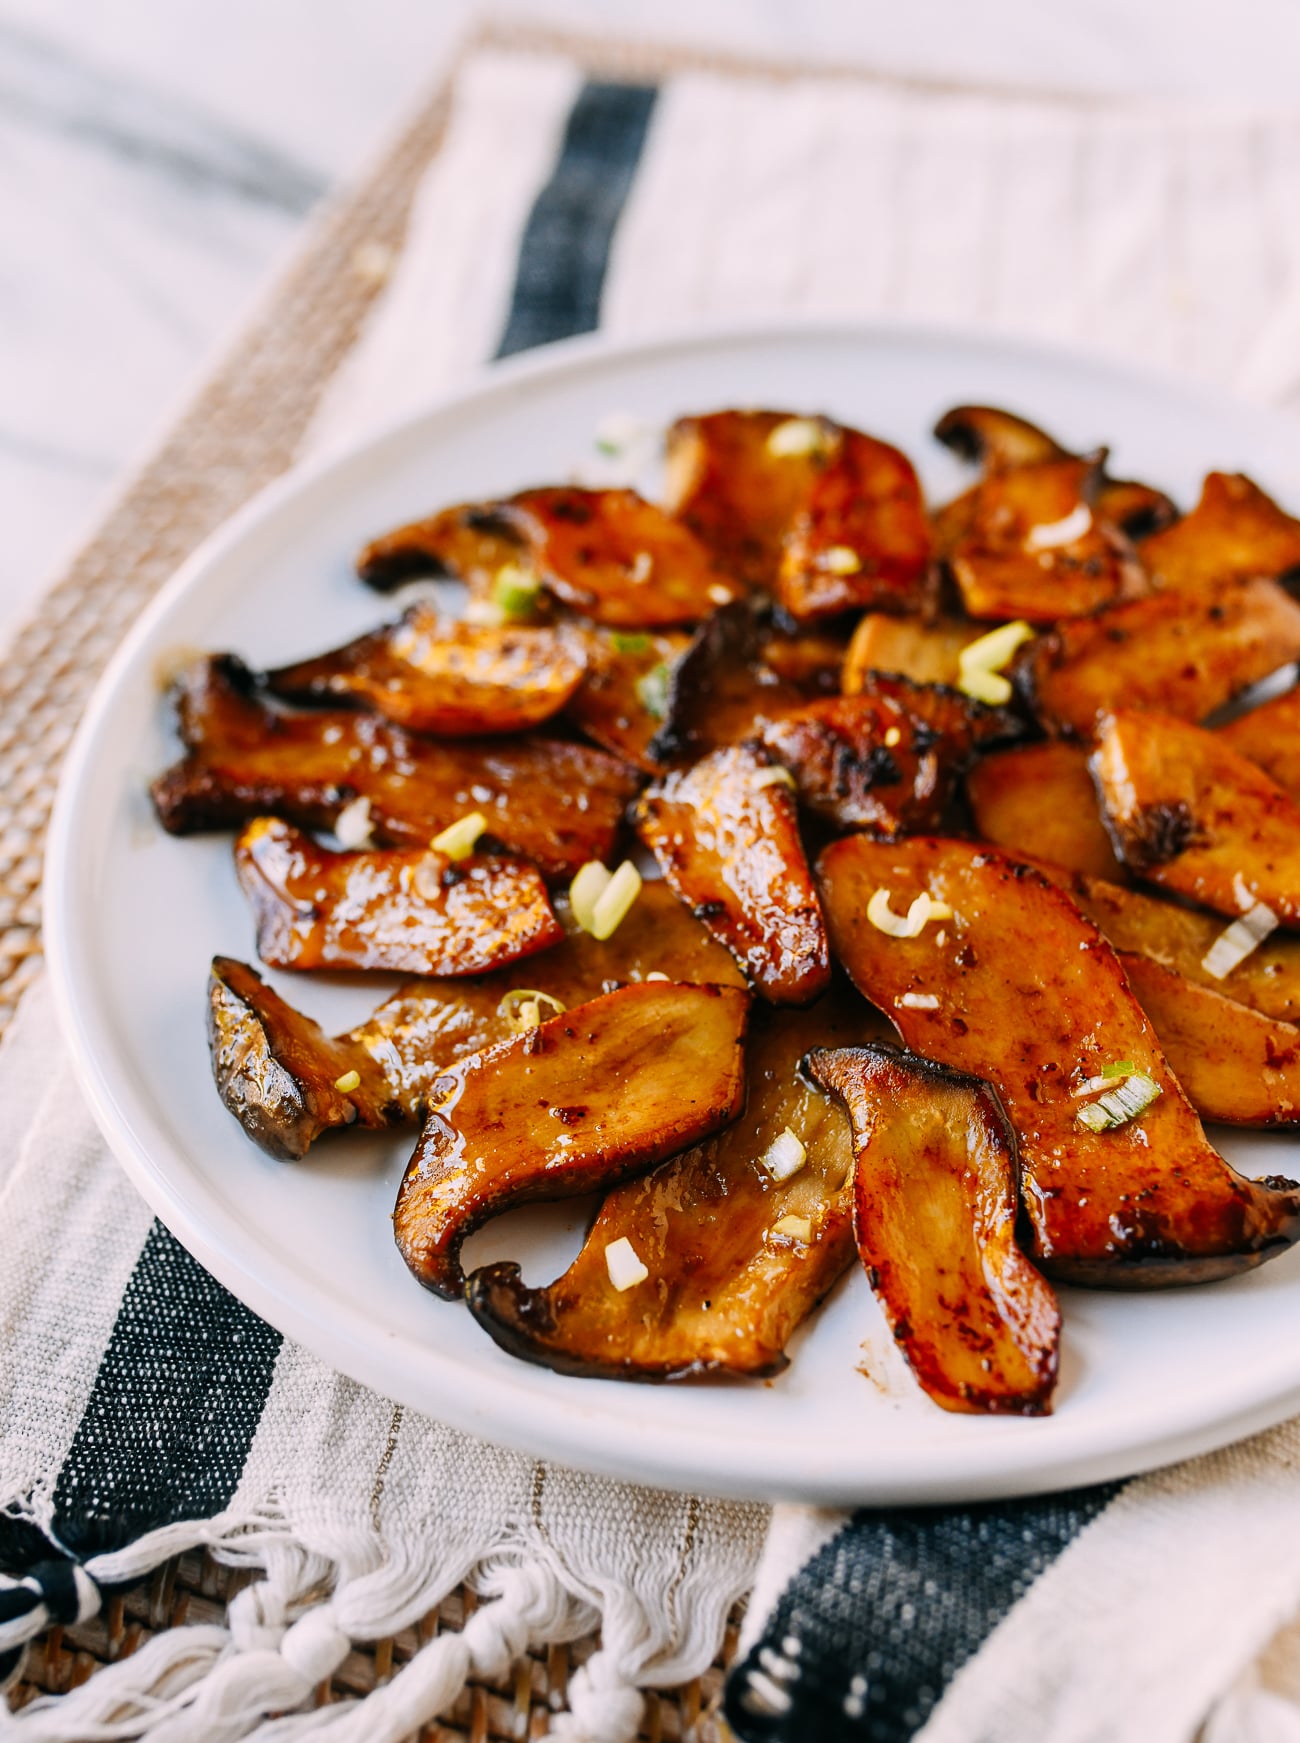
You can use this master sauce as a base for your stir-fries or other braised dishes. Using the sauce won’t be a precise recipe. You’ll have to rely on your taste to decide what other seasonings to add.
If you’re making another soy sauce chicken, you can use the sauce again. Simply follow the same recipe using fresh ginger and scallion, and add the saved master sauce instead of the new seasoning ingredients. If there is not enough sauce, then add more of all the ingredients proportionately to augment. This is not an exact science, so use your own judgment at this point!
Watch Us Make It!

Looking for more authentic recipes? Subscribe to our email list and be sure to follow us on Pinterest, Facebook, Instagram, and Youtube!
Recipe
Soy Sauce Chicken
Ingredients
- 1 whole chicken (about 4 pounds/1.8kg; preferably buddhist-style, never frozen)
- 1/4 cup salt
- 2 teaspoons neutral oil (such as vegetable, canola, or avocado oil)
- 7 slices ginger
- 2 scallions (cut into 3-inch/8cm pieces and smashed flat)
- 3 whole star anise
- 3/4 cup Chinese rose wine (mei gui lu)
- 3/4 cup Shaoxing wine
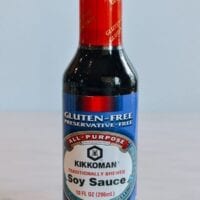
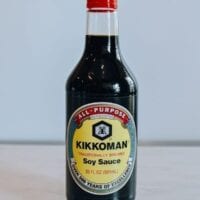
- 2 cups light soy sauce
- 1/2 cup dark soy sauce
- 1 3/4 cups sugar
- 12 cups water
Instructions
- Take your chicken out of the refrigerator an hour before you plan to cook. Remove the giblets, and thoroughly rinse the chicken inside and out. If the skin looks rough or you still see patches of a thin, waxy yellow layer on top of the skin, use your salt to rub the chicken all over to clean it, reserving the salt.
- Grab your stock pot. It will ideally be a tall, narrow pot that will just fit the chicken, since it should be totally submerged in the cooking liquid (if you use a larger pot, you’ll need to increase all the ingredients proportionally to create more cooking liquid). Put it over medium low heat, and add the oil and ginger.
- Let the ginger caramelize for about 30 seconds. Then add the scallions and cook another 30 seconds. Add the star anise, rose wine, and Shaoxing wine. Bring to a simmer to let some of the alcohol cook off. Add the light soy sauce, dark soy sauce, sugar, salt, and water. Bring to a simmer again and cook on low heat for another 20 minutes.
- Increase the heat to bring the liquid to a slow boil (i.e. a little stronger than a simmer, but not a rolling boil). Use a large roasting fork inserted into the chicken cavity to lower the chicken slowly into the pot breast side up. Make sure any air pockets in the cavity fill up completely with liquid. The chicken should be entirely submerged at this point.
- Once the chicken goes in, the cooking liquid will cool down. Let it cook for about 5 minutes at medium high heat. Next, use your large fork to carefully lift the chicken out of the water and empty the liquid inside the cavity, which will be cooler than the liquid surrounding the chicken. Lower the chicken back into the pot, making sure once again that there aren't any air pockets in the cavity. If the chicken is not completely submerged, periodically baste the exposed area with cooking liquid.
- Bring the liquid back up to a lazy simmer, which should take about 5 minutes. Cover and keep it at this slow simmer (just below boiling – the liquid will be about 210°F/99°C) for 25 minutes. If the chicken (breast side up) is exposed and not submerged you can baste the chicken with the liquid a few times during this 25 minutes of cooking. You can also turn the chicken over (breast side down) at the halfway point (after 13 mins) and turn the chicken back over breast side up after the full 25 minutes.
- Turn off the heat, keeping the pot covered, and let the chicken sit (breast side up) in the pot for another 25 minutes (slightly less time for a smaller chicken, slightly more time for a chicken larger than 4 pounds). Use a meat thermometer inserted into the thickest part of the thigh to confirm it's reached 165°F/74°C. It's good to check a couple of times in different places because you don't want to undercook or overcook the chicken. Transfer the chicken to a plate and let it rest for 10 to 15 minutes before cutting.
Tips & Notes:
- Make sure you let the chicken come up to temperature after taking it out of the refrigerator, about 1 to 2 hours. This allows it to cook evenly. Cooking a cold chicken right out of the refrigerator will result in the chicken being underdone near the bone and overdone near the surface.
- After you turn the heat off, the longer you leave the chicken in the sauce, the more flavor it will absorb and the darker the chicken will get, but make sure you don’t overcook it! You can always serve braising sauce on the side at the table.
- If you don’t have a meat thermometer, you can lift the chicken out of the liquid and poke the thigh with a skewer or chopstick. If the juices are still pink, then the chicken needs more time.
- You can freeze the sauce/cooking liquid for use again later (though you may have to add more water and re-season the sauce).
- You can also make this recipe with chicken leg quarters, wings, drumsticks or split chicken breasts and reduce the cooking time accordingly, since they cook faster. Braising liquid ingredients can be reduced proportionally if cooking chicken parts. For example, you could make half of the cooking liquid and cook the parts in batches.
Nutrition Facts