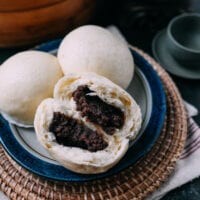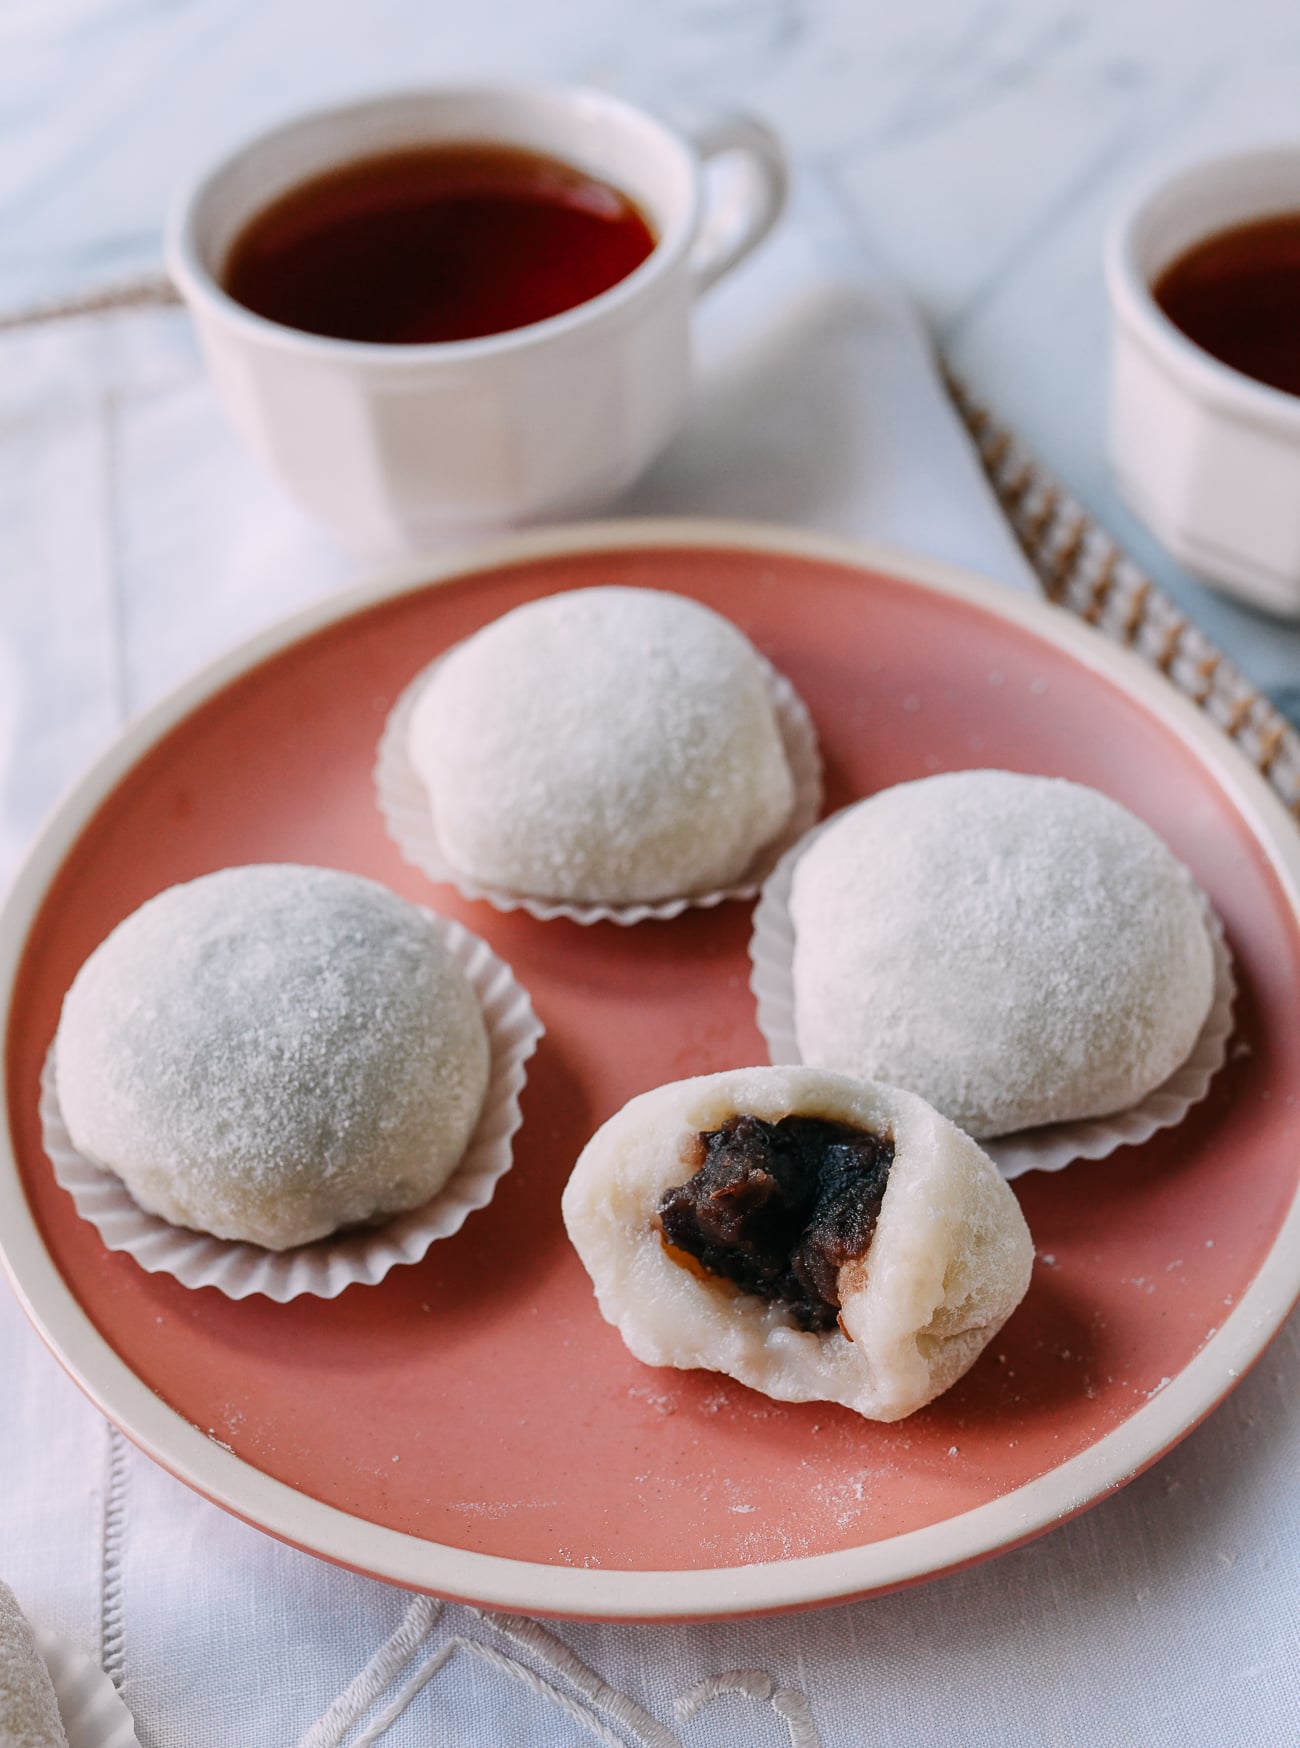
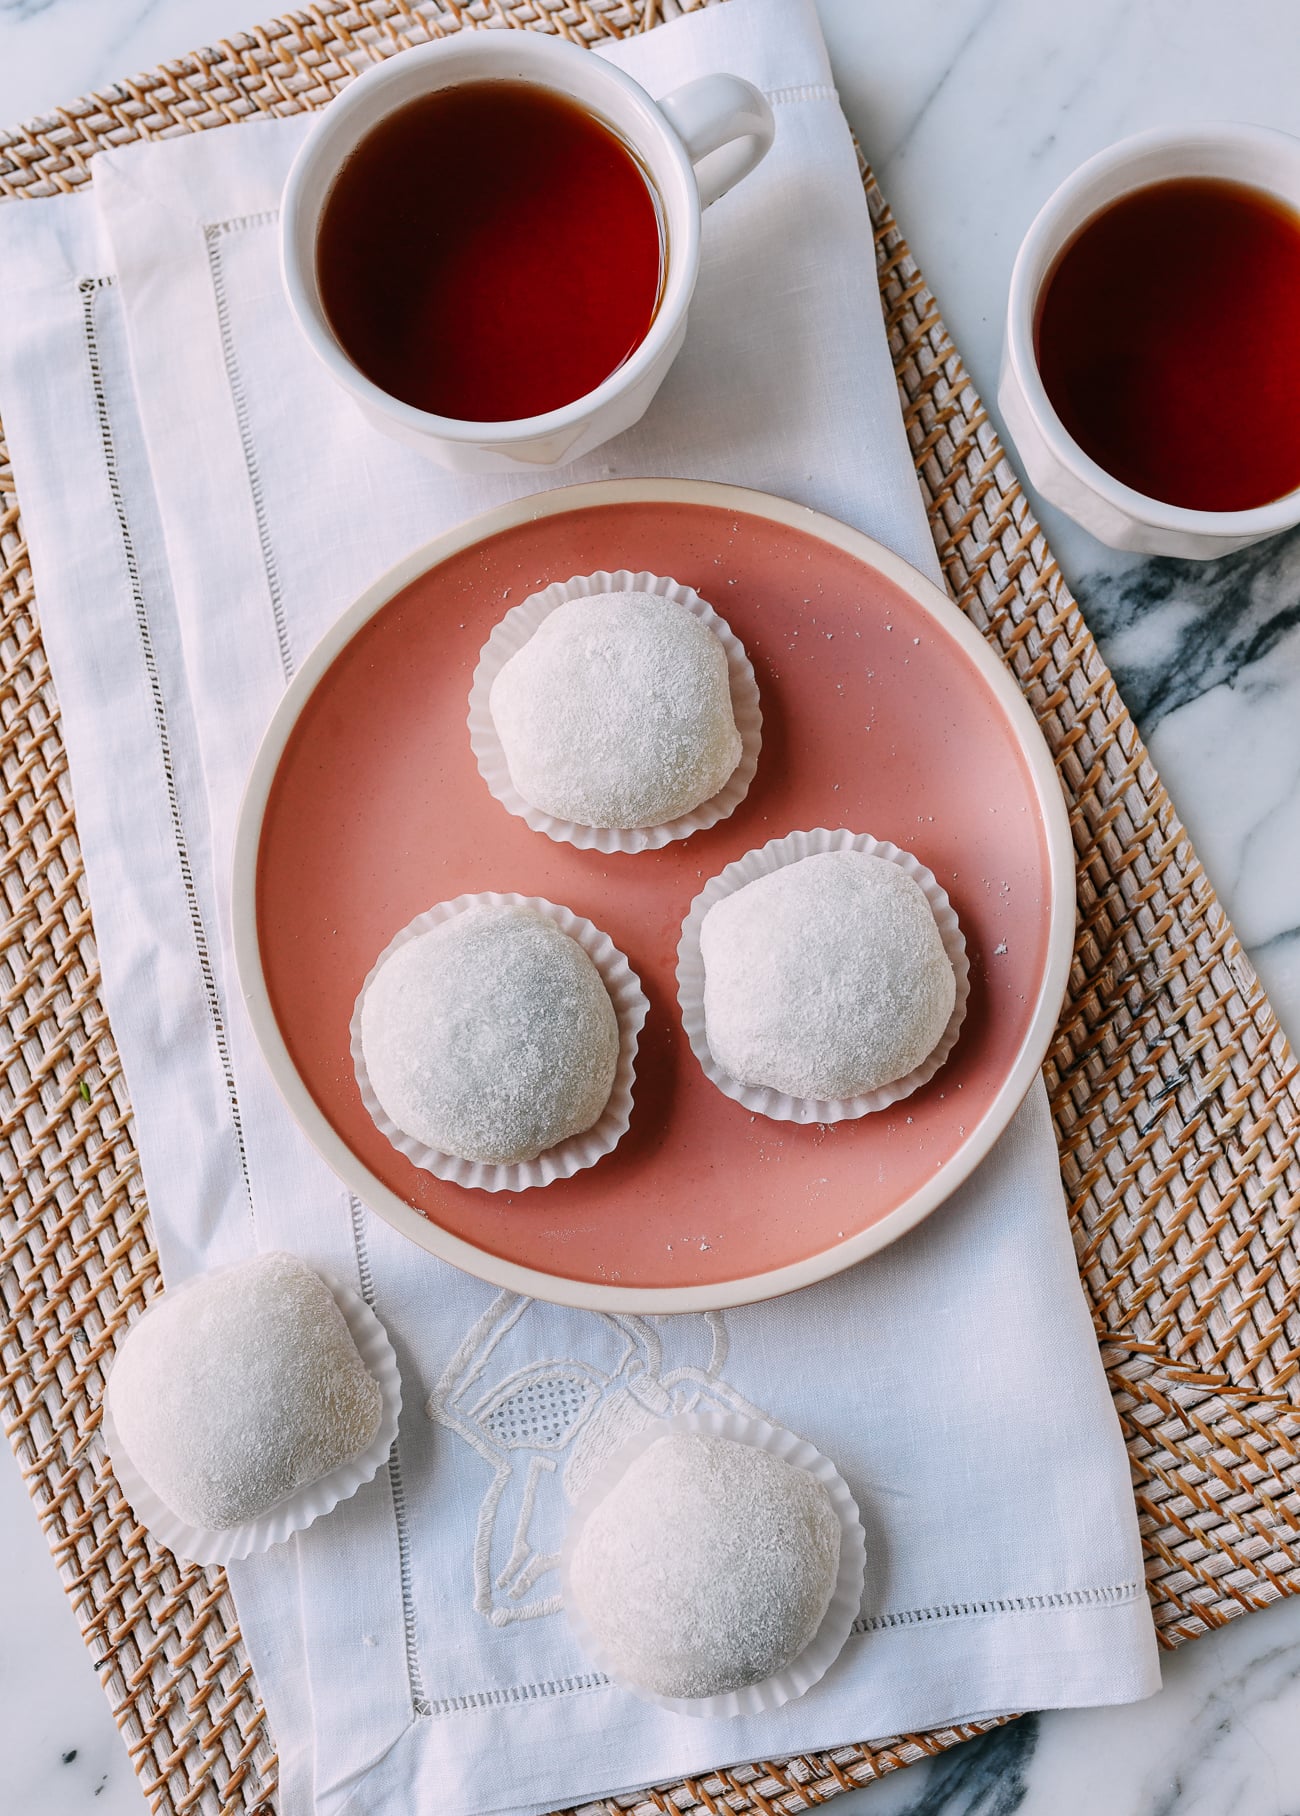
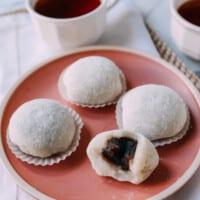
Red Bean Mochi is a great way to use up leftover red bean paste you might have in the freezer from making our other red bean treats, like Chinese bakery red bean bread, mooncakes, or red bean buns (forever my childhood love).
Japanese vs. Chinese Mochi
Chinese mochi is not as sweet as Japanese mochi. Other than that, they are very similar! As you can imagine, I prefer the Chinese version, but do feel free to adjust the sweetness level of the red bean filling to your own tastes.
Adjusting Sweetness Levels
I’ve always encouraged you to make red bean paste from scratch, because it has fewer preservatives and you can control the sweetness.
What’s more, I’ve always encouraged larger batches, because I know it’s time consuming and red bean paste freezes well! So consider this recipe another reason to make a big batch and use up your stash.
That said, in an uncharacteristic move, I’ve been so busy lately with the cookbook that I resorted to store-bought red bean paste!
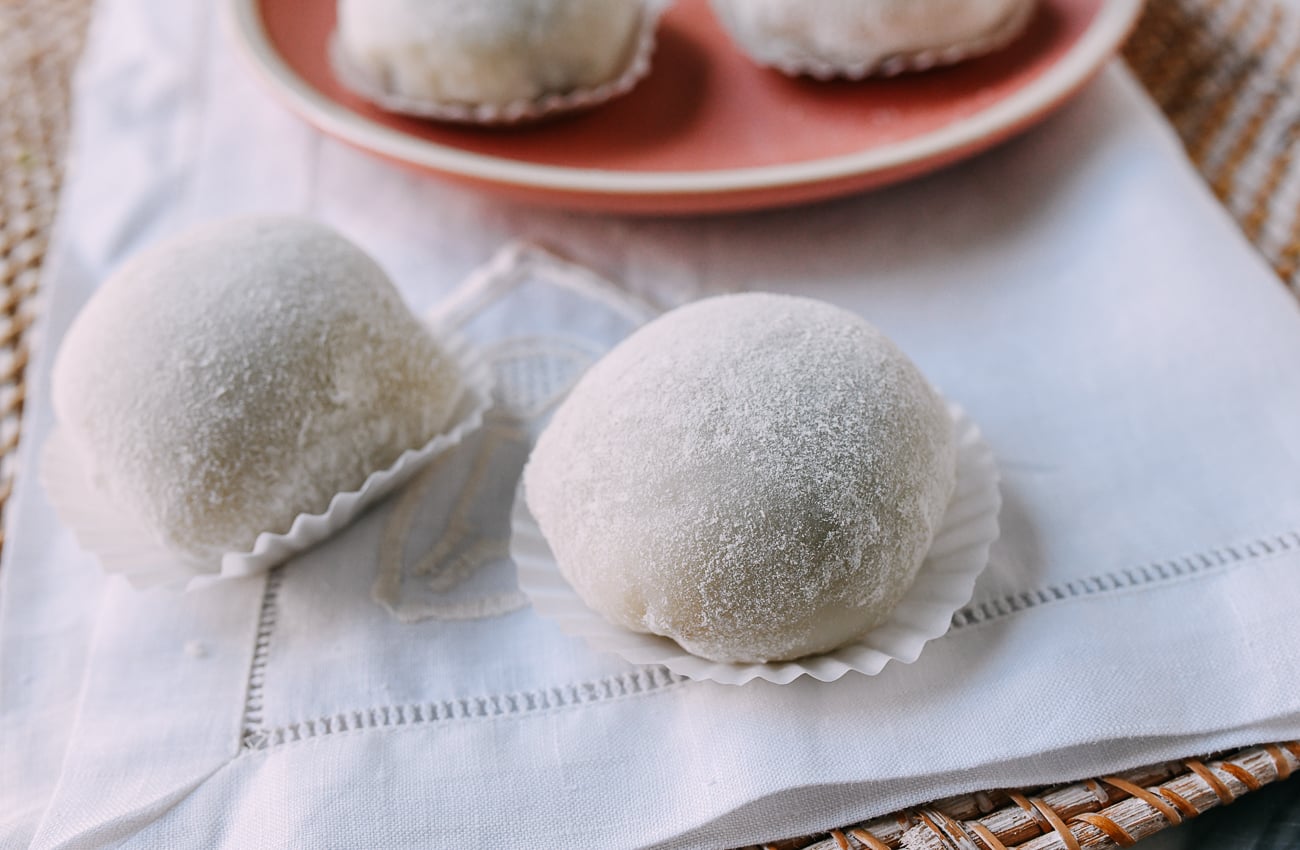
So how does one control the sweetness levels? I used extra mochi dough to offset the extra sugar. That’s why these mochi are larger and pretty plump, like happy little babies.
If you are using your own red bean paste, you have the option to make the mochi smaller, yielding 16 dainty mochi rather than 9.
Customizing Your Red Bean Mochi
Most people recognize the powdery appearance of mochi. The outside coating of cooked sweet rice flour is the most common way to prevent the mochi from sticking to your hands or any other surface. It’s not optional!
But your choices of coating aren’t just limited to sweet rice flour.
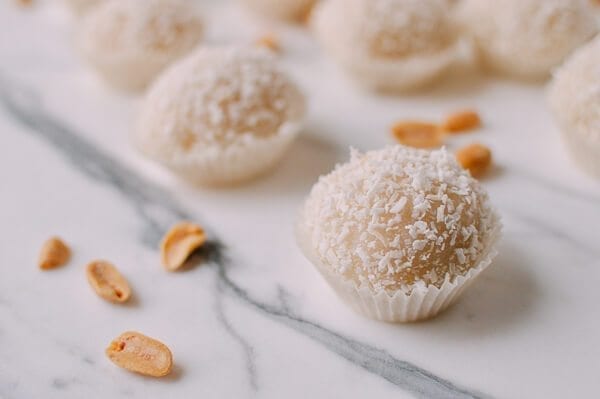
Finely crushed peanuts, roasted sesame seeds, and toasted coconut flakes are all great options.
See our recipe for Coconut Peanut Mochi for how to execute on some of these coatings.
Recipe Instructions
Step 1. Prepare the mochi coating (cooked sweet rice flour):
In a clean, dry saucepan, add ¼ cup sweet rice flour. (As you can see in our pictures, I clearly made too much.) Cook for 10 minutes over medium-high heat, until the flour starts to lightly smoke. Stir often to prevent burning. Remove from the heat and let cool completely while you prepare the rest of the mochi components.
Step 2. Make the mochi dough:
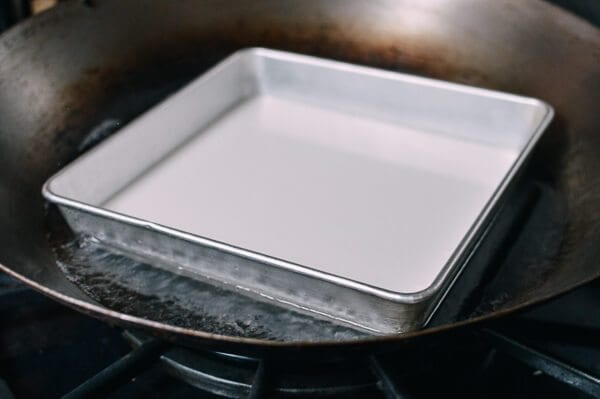
Generously brush an 11×11” square cake pan (non-stick is ideal) with a thin coating of vegetable oil. Set aside.

TIP!
An 11×11” square cake pan yields the perfect thickness of dough for this recipe. Other sized pans will also work, but you will need to roll out the dough a bit when assembling the mochi.
Prepare your steamer with water and bring to a boil.
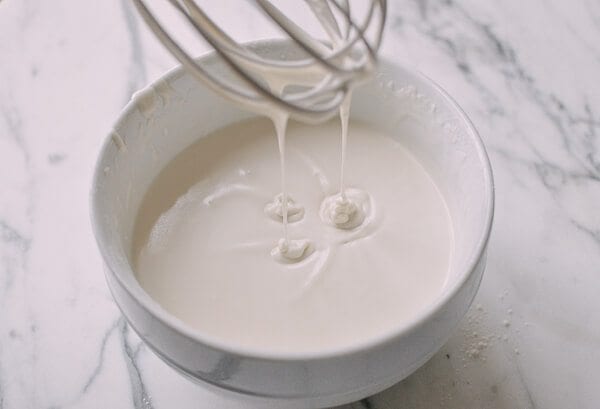
While the water is heating, mix together the sweet rice flour, cornstarch, caster sugar, coconut milk, and melted coconut oil in a large bowl until smooth, with no lumps.
Transfer the mixture to the prepared cake pan, and gently tap the pan on the counter to distribute the dough evenly. Once the water in the steamer is boiling, steam the dough for 15 minutes over high heat.
Remove from the heat and leave on the counter to cool completely.
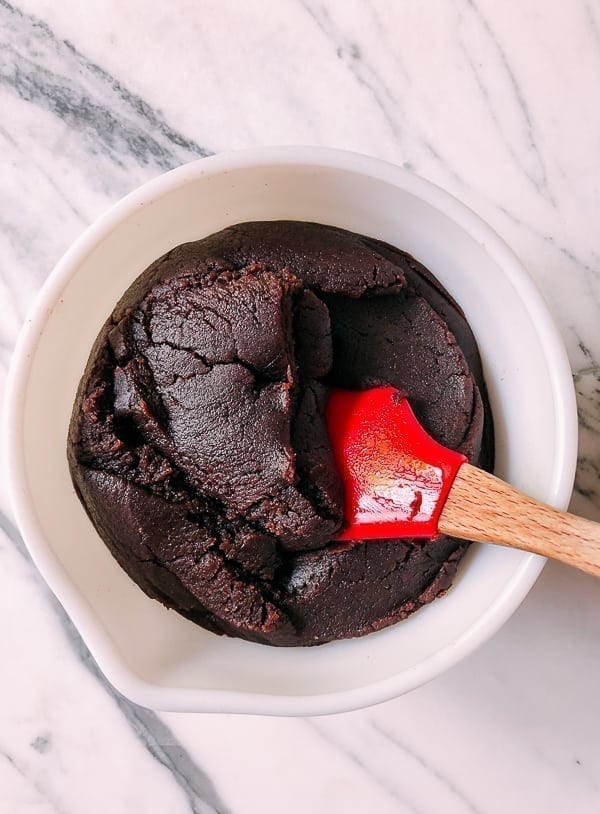
3. Prepare the red bean paste filling.
We used store bought red bean paste in this case, but you can also make our homemade recipe in an Instant Pot or our stovetop red bean paste recipe. Regardless of which you use, be sure to chill your red bean paste until it’s cool to the touch and is easier to handle before using.
Cold red bean paste is easier to handle–both when rolling the filling into balls and when assembling the mochi.
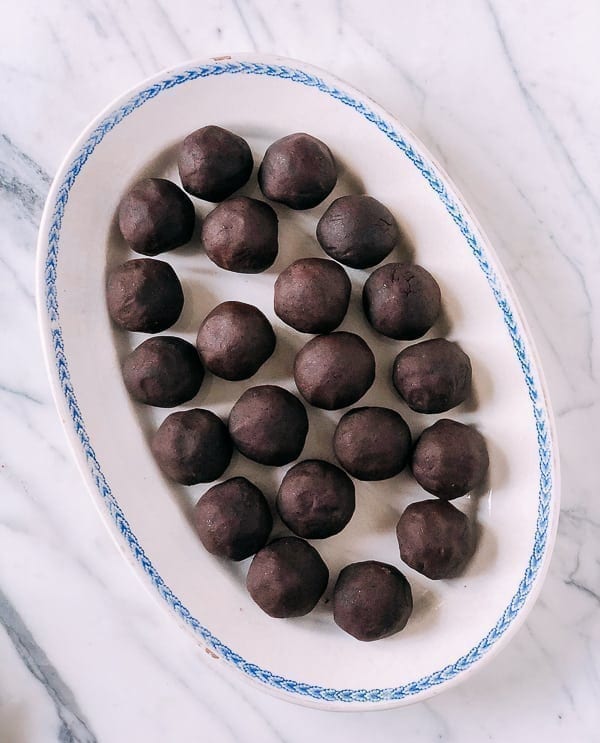
Now you’re ready to roll the red bean paste into balls. This makes assembling the mochi much easier. I used 35g each for the larger mochi, you should try 20g – 25g if you are making 16 mochi with this recipe. Just lightly oil your hands, measure out the red bean paste, and roll the filling into a ball. Set aside on a plate.
4. Assemble the mochi.
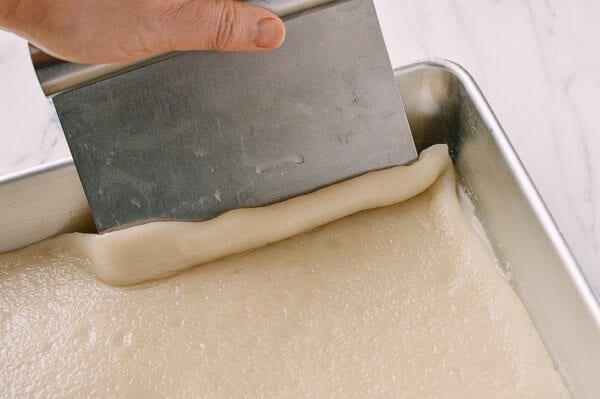
Once the mochi dough has cooled, transfer it onto a large piece of wax paper (or a clean, lightly greased countertop brushed with vegetable oil). Use an oiled bench scraper to lift the mochi off the pan.
Cut the dough into 9 or 16 equal squares (depending on whether you want larger or smaller mochi).
Very lightly oil your fingers, take a piece of dough (a bench scraper or spatula will help you lift it up), and place the red bean paste filling in the center.
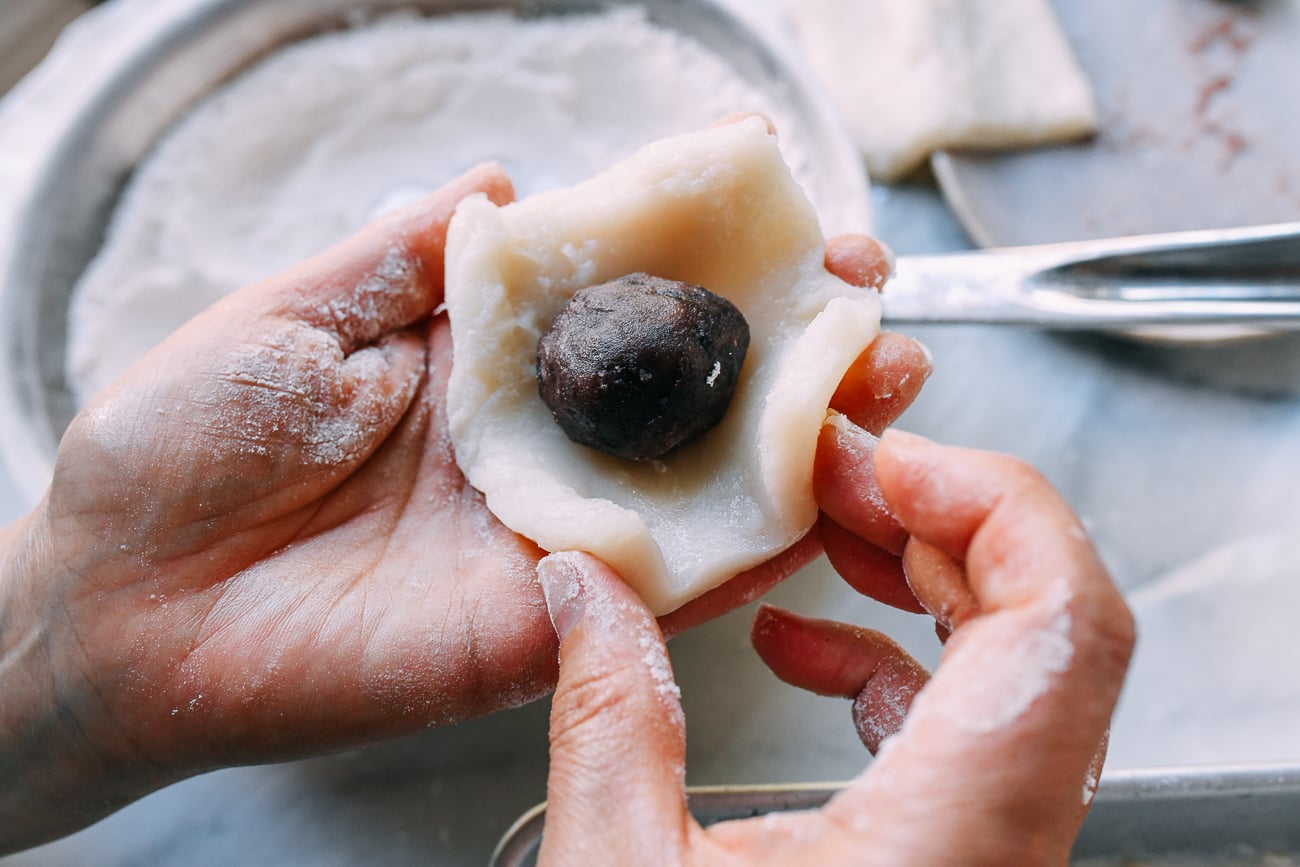
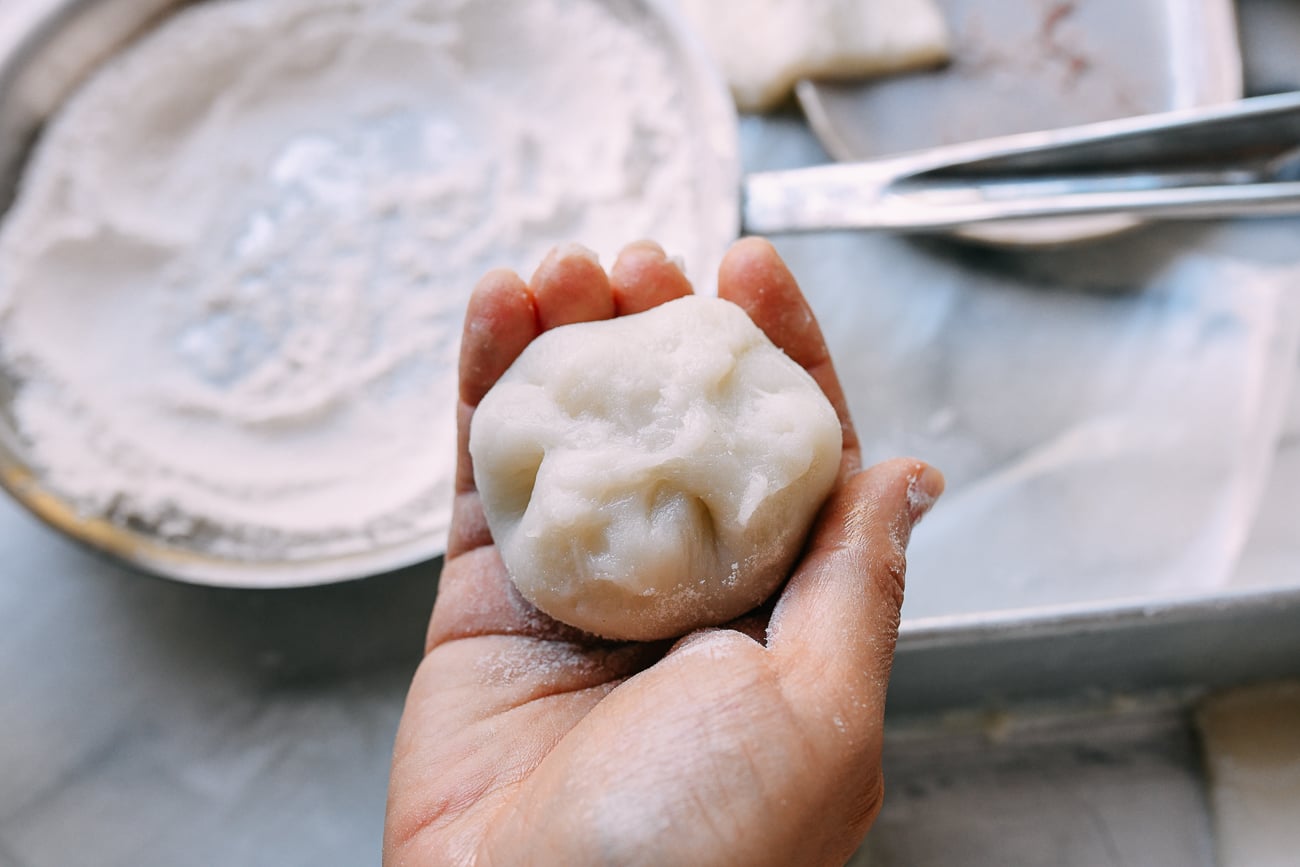
Close the dough around the filling, pinching it closed.
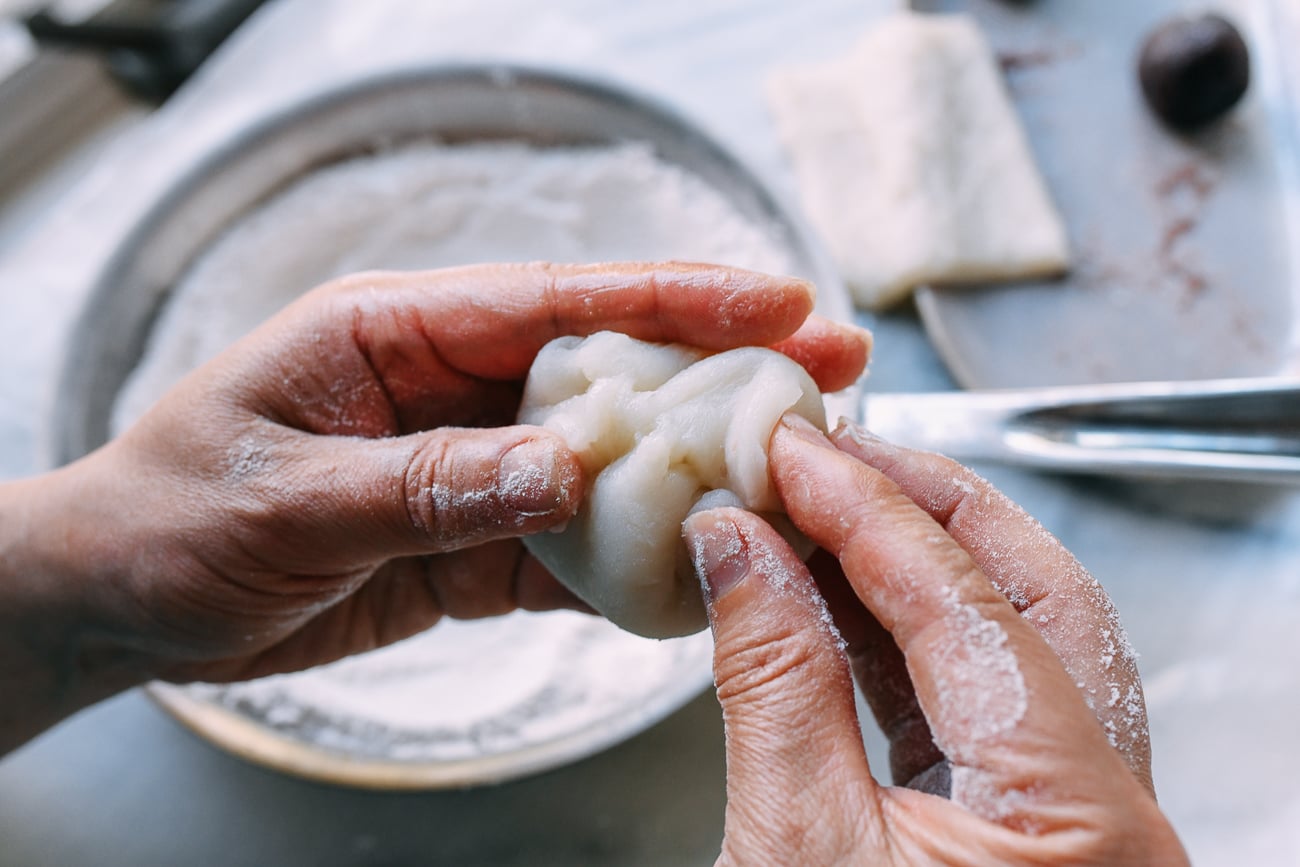
Too much oil at this stage will prevent the dough from closing, so oil your fingers just enough to prevent the dough from sticking to your hands when handling.
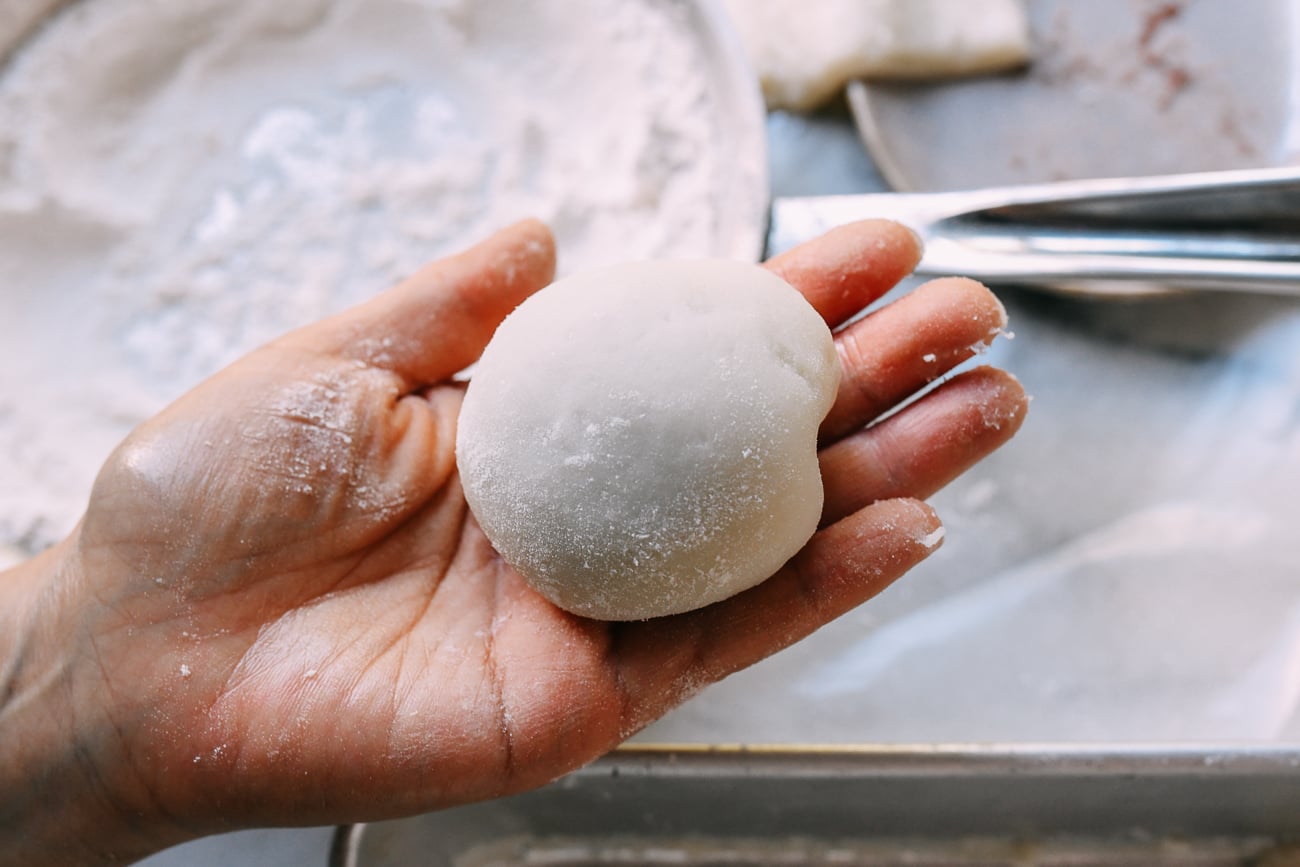
Flip the mochi over–this is your smooth side, which will face up!
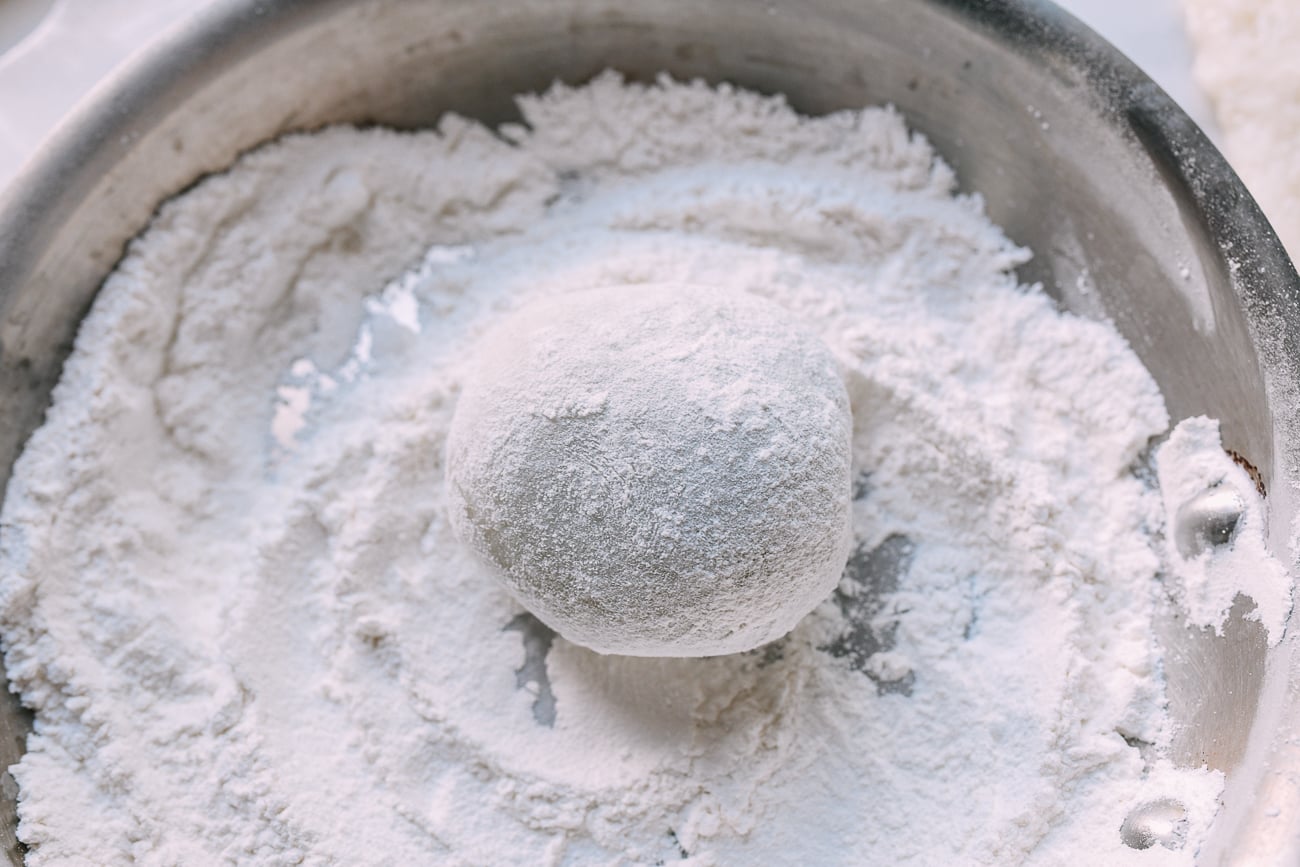
Roll the mochi in the cooked sweet rice flour to coat. Toss it lightly between your palms to shake off any excess flour.
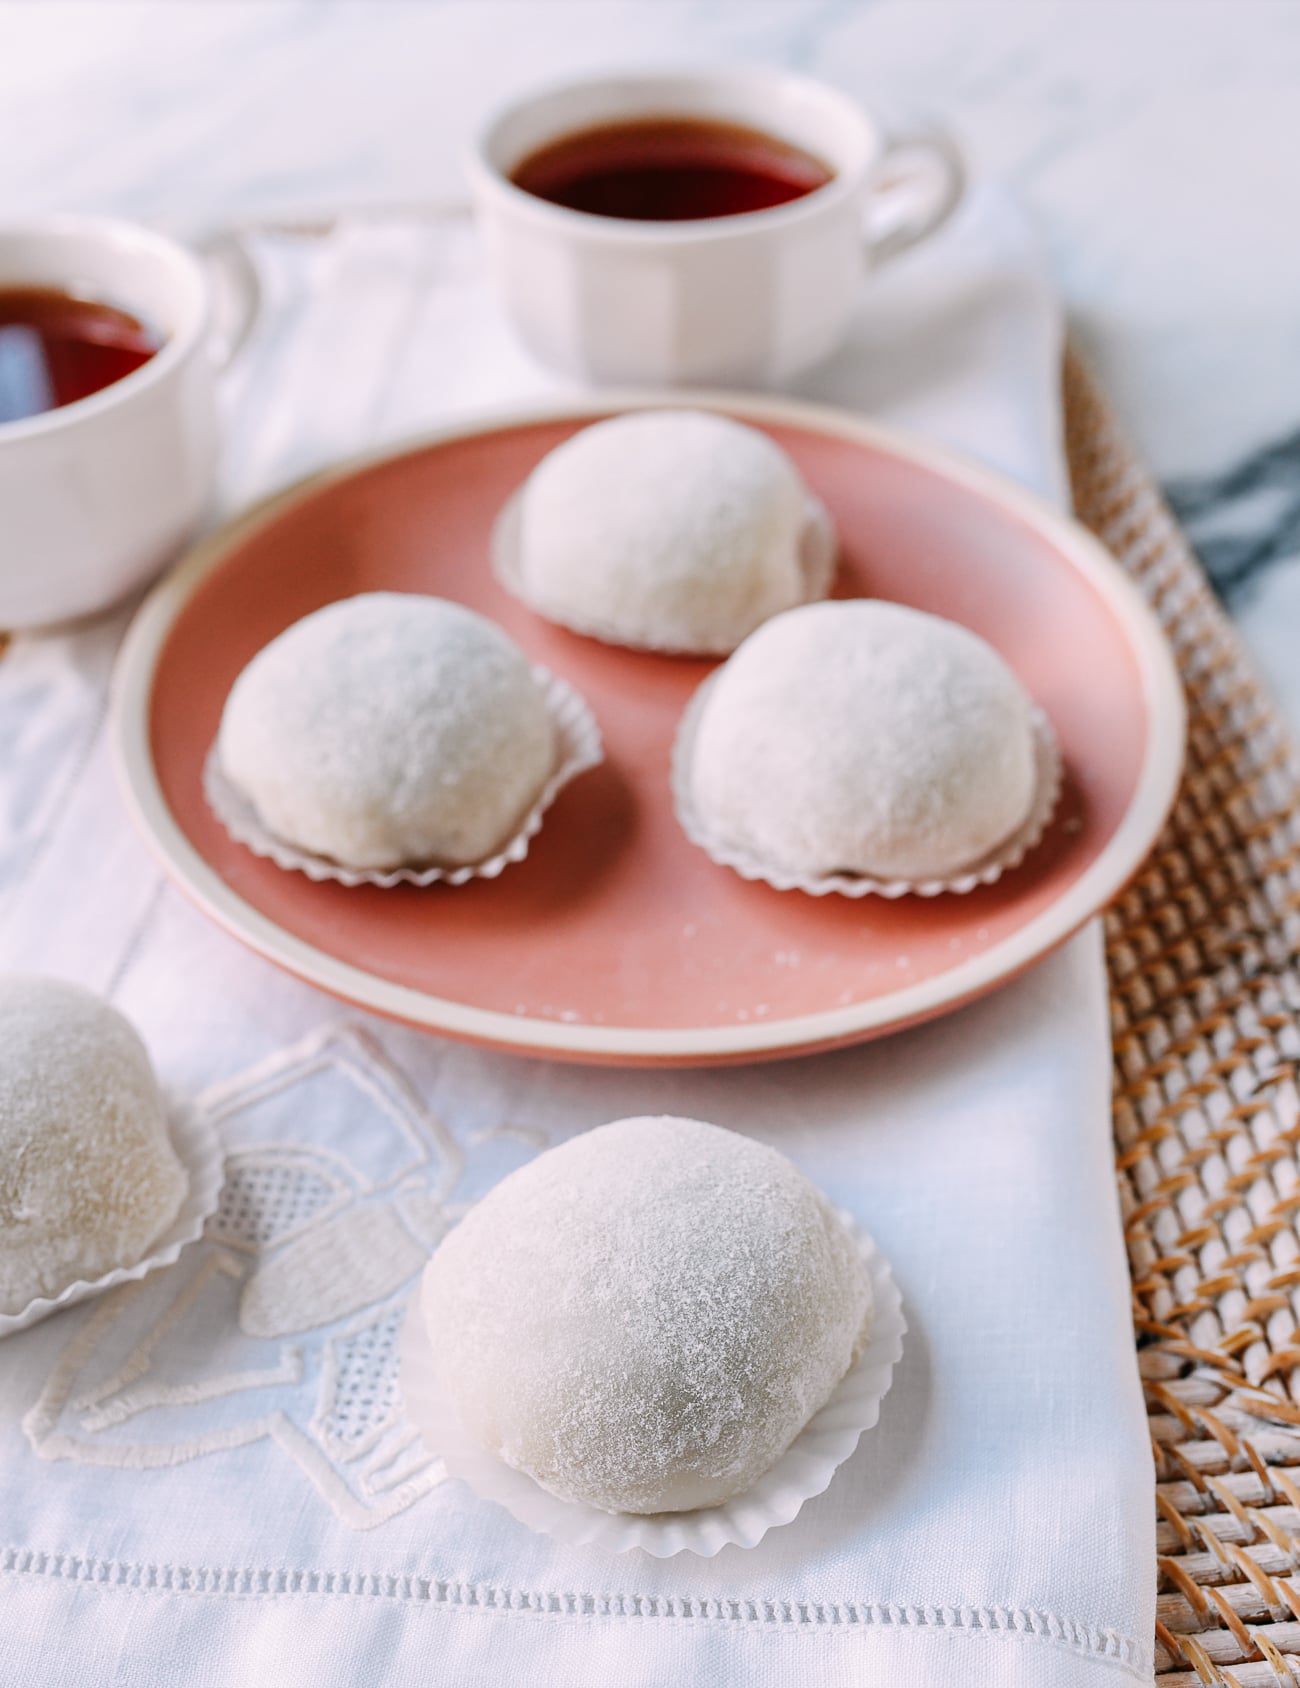
Place each mochi in a paper cupcake cup seam side down. Repeat until you’ve assembled all of them.
Note:
This is a “sticky” situation, but the sticky rice mochi dough does not stick as easily to rubber, silicone or plastic, so plastic dough scrapers and rubber or silicone spatulas are all helpful tools you may use during assembly!
Mochi is best eaten fresh, but you can keep any leftovers in an airtight container to prevent them from drying out. They should be eaten within a couple of days.
Making these in summertime?
During the summer, any leftovers should be kept in the refrigerator to prevent mold. Cold mochi will harden, so simply microwave them for 20-30 seconds, covered with a plate, to gently soften them.
Looking for more authentic recipes? Subscribe to our email list and be sure to follow us on Pinterest, Facebook, Instagram, and Youtube!
Recipe
Red Bean Mochi
Equipment
- A large piece of wax paper (optional)
- Paper cupcake cups
Ingredients
To coat the mochi:
- 1/4 cup sweet rice flour (AKA glutinous rice flour)
For the mochi dough:
- vegetable oil (for brushing)
- 1 1/2 cups sweet rice flour (AKA glutinous rice flour)
- 1/4 cup cornstarch
- 1/4 cup caster sugar/superfine sugar
- 1 1/2 cups sweetened or unsweetened coconut milk
- 2 tablespoons coconut oil (melted)
For the red bean paste filling:
- 10-14 ounces red bean paste (storebought or homemade; see our Instant Pot Red Bean Paste Recipe. Quantity varies depending on whether you're making 9 large or 16 small mochi)
Instructions
Prepare the mochi coating (cooked sweet rice flour):
- In a clean, dry saucepan, add ¼ cup sweet rice flour. Cook for 10 minutes over medium-high heat, until the flour starts to lightly smoke. Stir often to prevent burning. Remove from the heat and let cool completely while you prepare the rest of the mochi components.
Make the mochi dough:
- Generously brush an 11×11” square cake pan (non-stick is ideal) with a thin coating of vegetable oil. Set aside.
- Prepare your steamer with water and bring to a boil.
- While the water is heating, mix together the sweet rice flour, cornstarch, caster sugar, coconut milk, and melted coconut oil in a large bowl until smooth, with no lumps.
- Transfer the mixture to the prepared cake pan, and gently tap the pan on the counter to distribute the dough evenly. Once the water in the steamer is boiling, steam the dough for 15 minutes over high heat. Remove from the heat and leave on the counter to cool completely.
Roll the red bean paste into balls:
- Chill the red bean paste in the refrigerator (covered) for at least 30 minutes. Cold red bean paste is easier to handle–both when rolling the filling into balls and when assembling the mochi.
- With lightly oiled hands, roll the paste into balls (35g each for larger mochi, or 20-25g if you are making 16 smaller mochi with this recipe). Set aside on a plate.
Assemble:
- Once the dough cools, transfer it onto a large piece of wax paper (or a clean, lightly greased countertop brushed with vegetable oil). Use an oiled bench scraper to gradually lift the sticky mochi off the pan.
- Cut the dough into 9 or 16 equal squares (depending on whether you want larger or smaller mochi).
- Very lightly oil your fingers, take a piece of dough, and place the red bean paste filling in the center. Close the dough around the filling, pinching it closed. Too much oil at this stage will prevent the dough from closing, so oil your fingers just enough to prevent the dough from sticking to your hands when handling.
- Roll the mochi in the cooked sweet rice flour to coat. Toss it lightly between your palms to shake off any excess flour.
- Place each mochi seam side down in a paper cupcake cup. Repeat until all the mochi are assembled.