Portuguese Custard Tarts are a deliciously flaky dessert that migrated to Macau and became a local favorite. This custard tart recipe yields buttery, sweet tarts with an aromatic custard that gets baked until it’s just scorched on top.
Portuguese Custard Tarts in Macau
The first time I tried Portuguese Custard Tarts, or pasteis de nata, wasn’t in Portugal, but in Macau. Macau is a former Portuguese colony, handed back to China in 1999, and just an hour’s ferry ride away from Hong Kong.
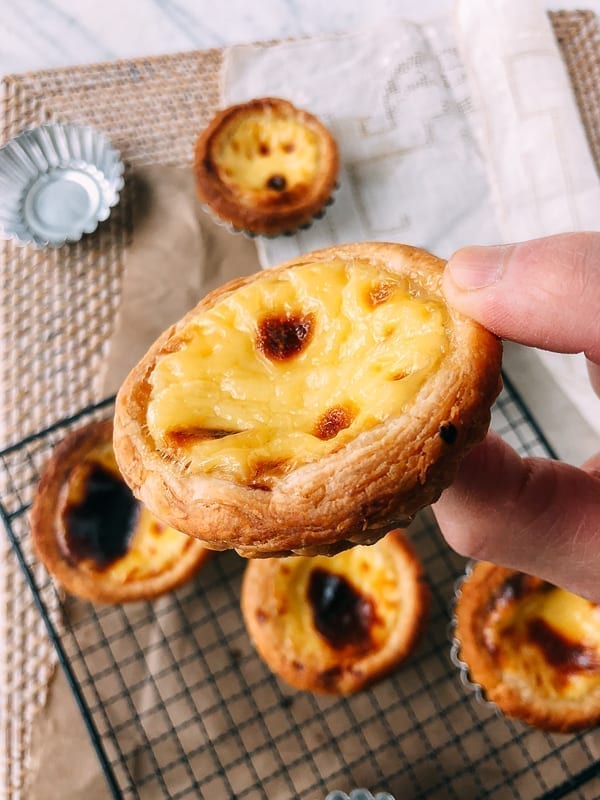
These desserts stand out from typical Asian sweets because of their beautifully scorched custard––you don’t often see a lot of browning on Asian desserts–– and the perfectly buttery, flaky, and crisp pastry.
There are two locations that are the authority on Macau Egg Tarts. I have to say, having tried both, I’m not sure who the definitive winner is. The first time I sampled these amazing custard tarts was at Lord Stow’s bakery at the Venetian Hotel in Macau.
Recently, our family visited Macau looking for things to do (read: places to eat) and one of our stops was Margaret Café e Nata to try their version of Portuguese Custard Tarts. They were pretty close to perfection––fresh from the oven and best enjoyed with a milk tea in hand.
So if you haven’t figured it out already, Portuguese Egg Tarts are must-have treats when visiting Macau along with the famous Macau Pork chop bun. As for where you should go, I’d decide based on whichever is closest so you can get your hands on one (or three) ASAP!

Portuguese Custard Tarts vs. Macau Egg Tarts
I’m using the terms Portuguese Custard Tarts and Macau Egg Tarts interchangeably, but there are some subtle differences. Portuguese Custard Tarts (pasteis de nata or pastel de nata) are sweeter, less eggy, and sometimes dusted with cinnamon.
The pastry is also slightly different from what you might find in Macau, These are also both different from Hong Kong Egg Tarts, which have a glassy rather than scorched surface, and often a more shortbread-like crust.
To pull off these Macau Egg Tarts, we used our own homemade rough puff pastry and custard filling that tasted just as decadent as the tarts we enjoyed in Macau. I have to say, there was a lot of experimentation involved in this recipe, but we’ve ironed out the details to help you get perfect results.
So treat yourself, make these Portuguese Custard Tarts at home, and take a mini trip to Macau in your kitchen.
Portuguese Custard Tarts: Instructions
Make the custard tart pastry shells:
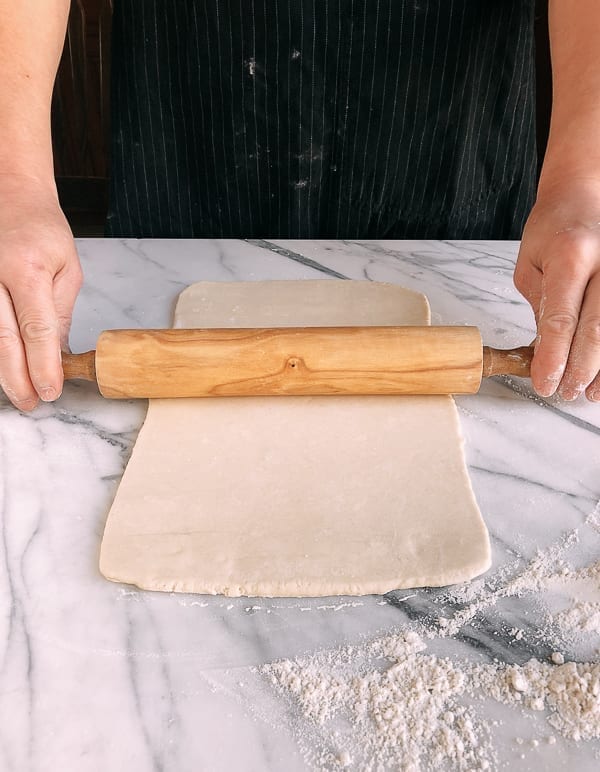
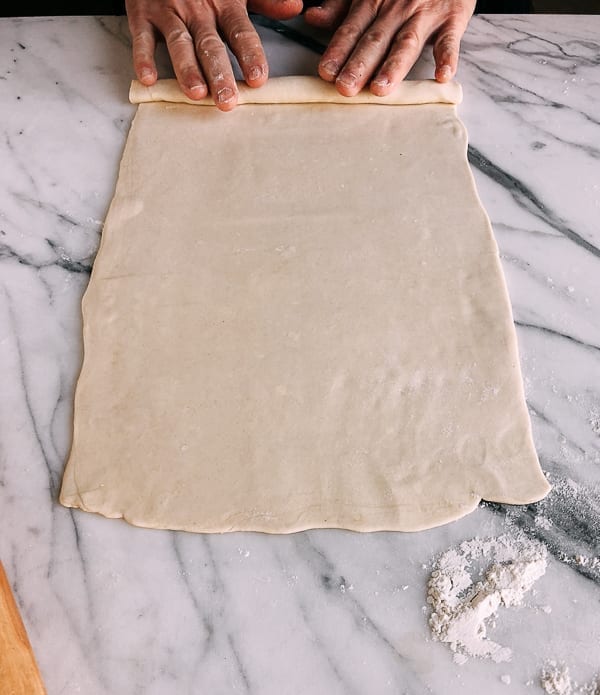
Roll out the puff pastry into a 10×12 inch (25×30 cm) rectangle. Make and use your own homemade puff pastry for that signature buttery flavor of Portuguese custard tarts you find in Macau!
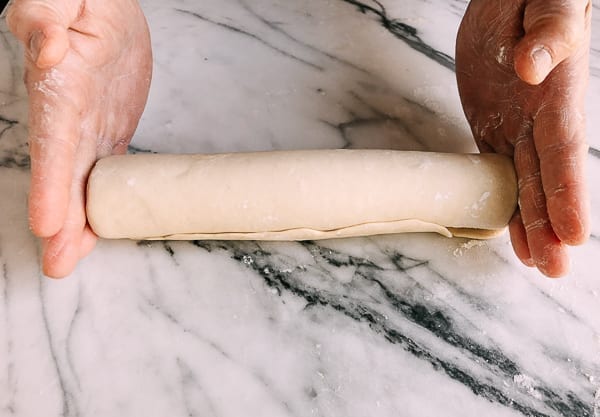
From the 10-inch side, start rolling the pastry into a tight roll…
Until you have a 10-inch long roll.
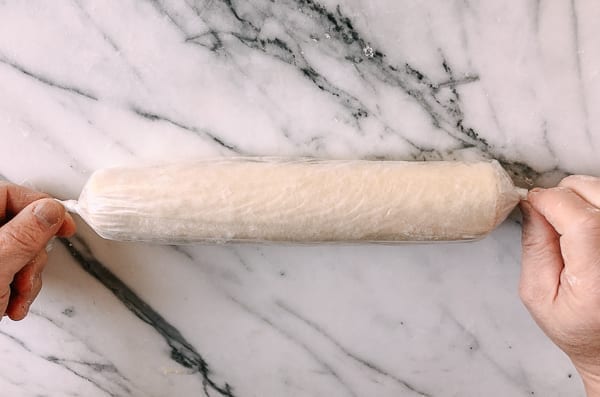
Wrap the pastry and return it to the freezer for 30 minutes to chill until firm.
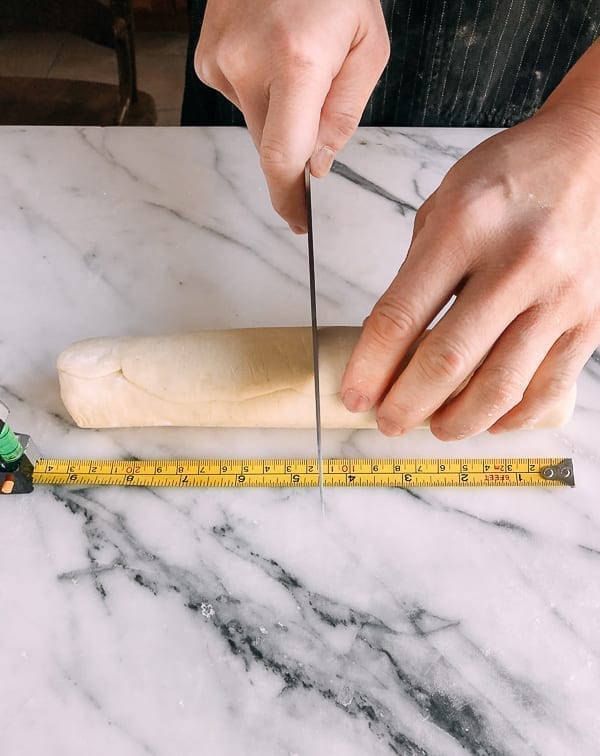
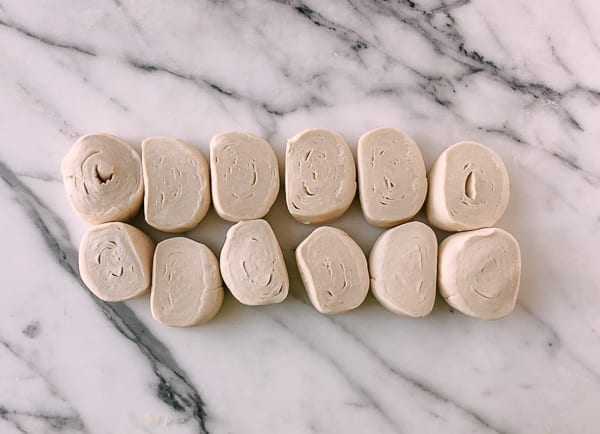
Cut the chilled pastry roll into 12 equal disks that weigh about 35 g each (cut the pastry in half twice, and then cut each of the remaining 4 pieces into 3 equal pieces to get a total of 12). You can also use a ruler for this purpose.
Start with 6 pieces first, wrap the rest up, and put them back in the refrigerator or freezer to keep them chilled.
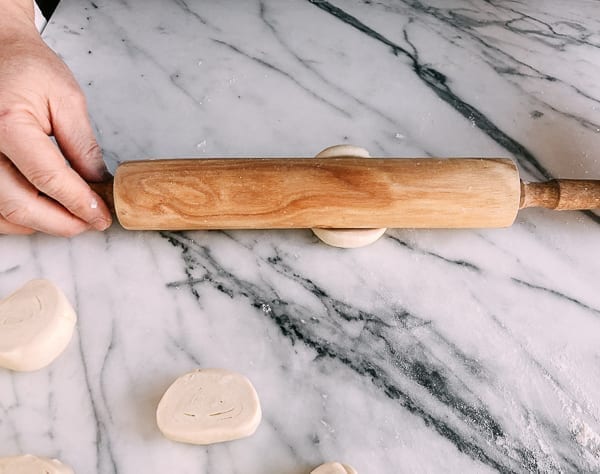
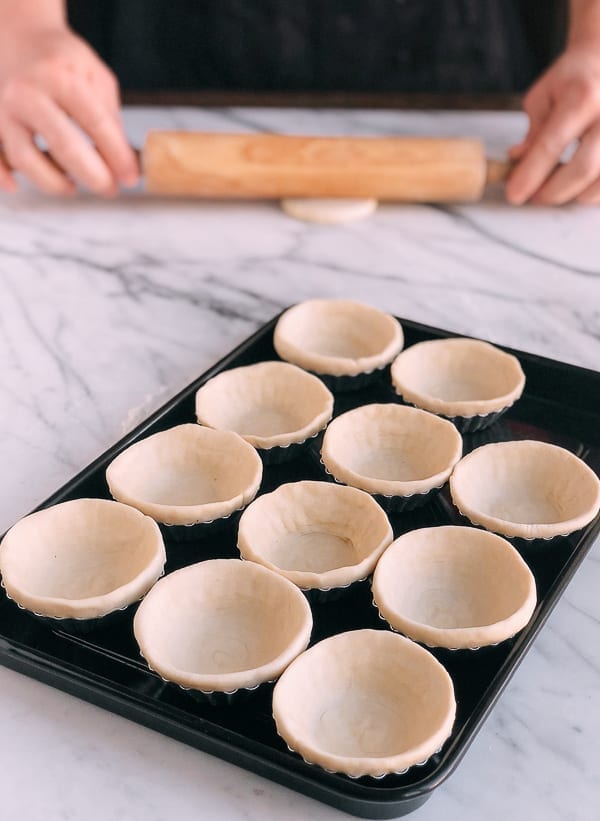
On a very lightly floured surface, place each piece of dough so the swirls in the dough are facing up. Use a rolling pin to roll each piece into a flat disc about ¼ inch wider than the diameter of the tin and about 3/16 inches thick. Use flour sparingly when rolling out the discs. Using a pastry scraper or metal spatula to lift the discs will help keep them intact.
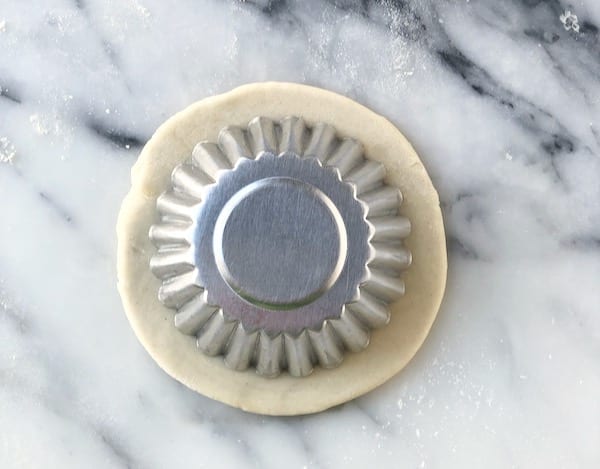
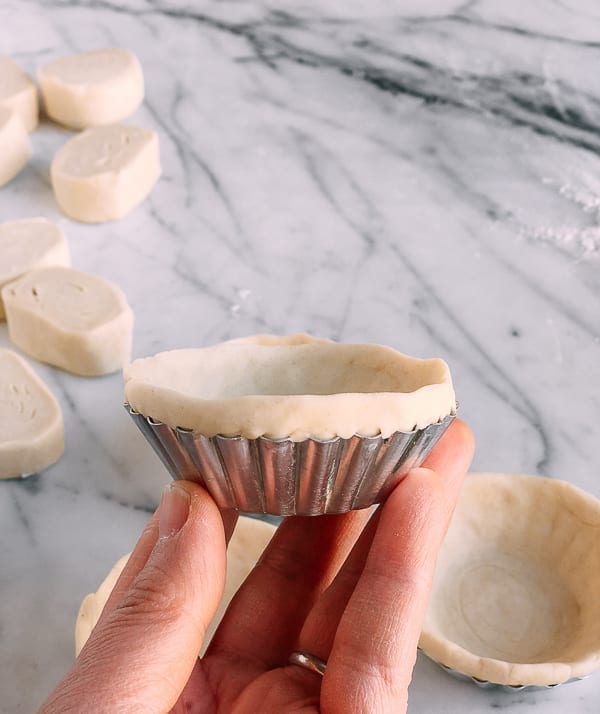
Place each disk onto the bottom of each custard tart tin and press the dough onto the tin. When you spread the dough into the tart tin, form a lip that sits on top of the perimeter of the tin. This is crucial for preventing the custard from overflowing.
Here are some tips for forming the custard tart pastry dough:
- We highly recommend using mini tart tins for this recipe. We used small stainless steel egg tart tins from Amazon that are ¼ cup in size (dimensions are top diameter: 7cm; bottom diameter: 5cm; depth: 2cm). Alternatively, you can also use a muffin pan in a pinch.
- Work quickly so your dough doesn’t heat up. Keep some of dough pieces in the refrigerator if needed while you’re working through the rolling and pressing process.
- As you press the dough against the bottom and the sides of the tin, try not to overwork it.
- Have some all-purpose flour on the table in case the dough sticks to your fingers.
- Make a last pass on each tin to shape the rim before freezing (see photo below).
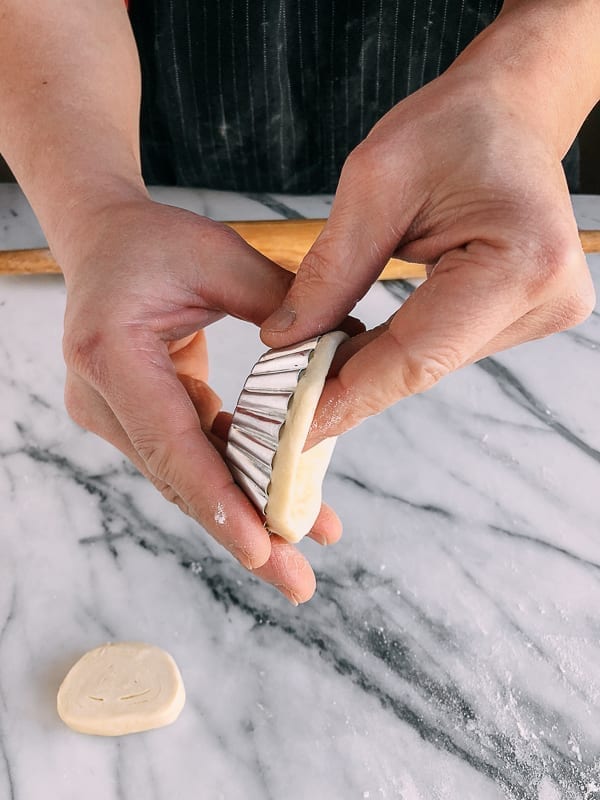
This short video below shows the process of rolling the puff pastry disc of dough, pressing it into the tin and shaping the rim of the dough around the tin so the pastry will hold that delicious custard securely while baking.
See that distinct “rim” of pastry? You need that to contain the custard while baking!
Freeze the finished tart cups for at least 35 minutes or until frozen. You can make the pastry tins ahead of time and keep them frozen for up to 2 weeks. It’s important to freeze them so the custard does not soak into the pastry!
Make the custard tart filling:
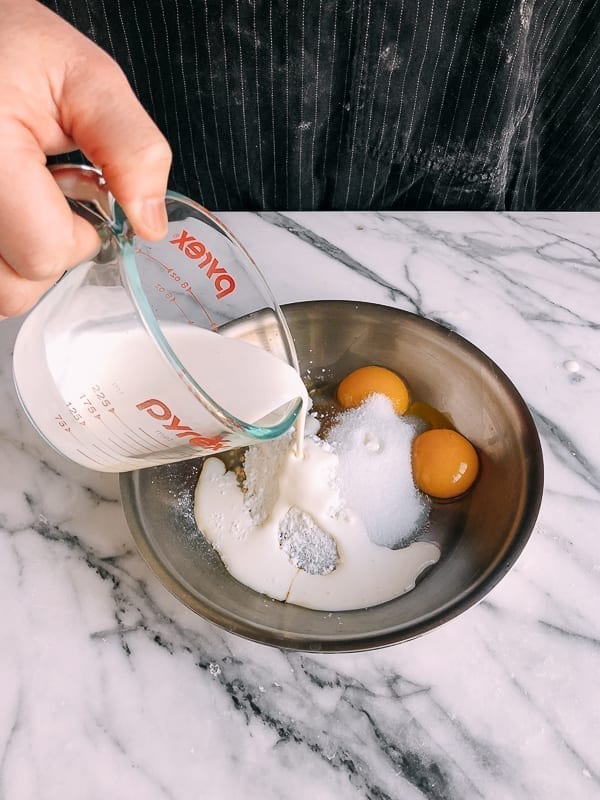
Whisk ½ cup heavy cream, ½ cup sugar, 1¼ cup whole milk, 2 egg yolks, 4 teaspoons cornstarch, and 1¼ teaspoon vanilla extract in a small saucepan until the sugar is dissolved.
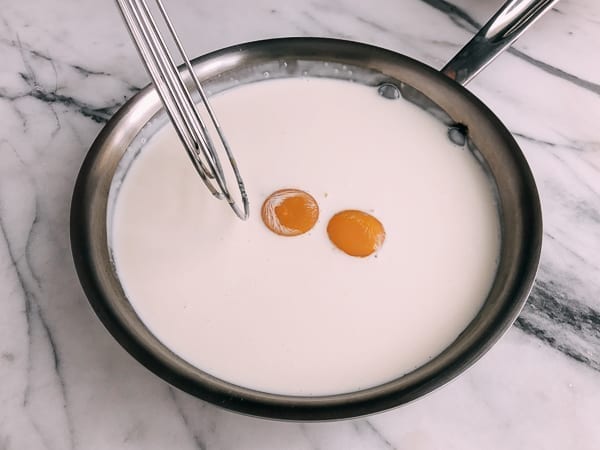
Place over medium-low heat, continuing to whisk until the mixture begins to coat the sides of the pan. Patience and low heat are key to a successful custard. The custard should get just hot enough so you see steam beginning to form. This is your signal that the custard is almost ready.
When the custard is thick enough to coat a spoon, remove from the heat and continue to whisk, ensuring you scrape the sides of the pan. Whisk until it is no longer hot. Do not cook the custard into a pudding, or it will dry out too much during baking! It’s a fairly thin consistency.
Set aside to cool completely, pressing plastic wrap onto the surface of the custard so a skin does not form on top. Cooling the custard completely is very important so don’t rush this step! Warm custard will melt and dampen your puff pastry shell causing less puffing during baking and may even result in a soggy pastry.
Assembly and baking:
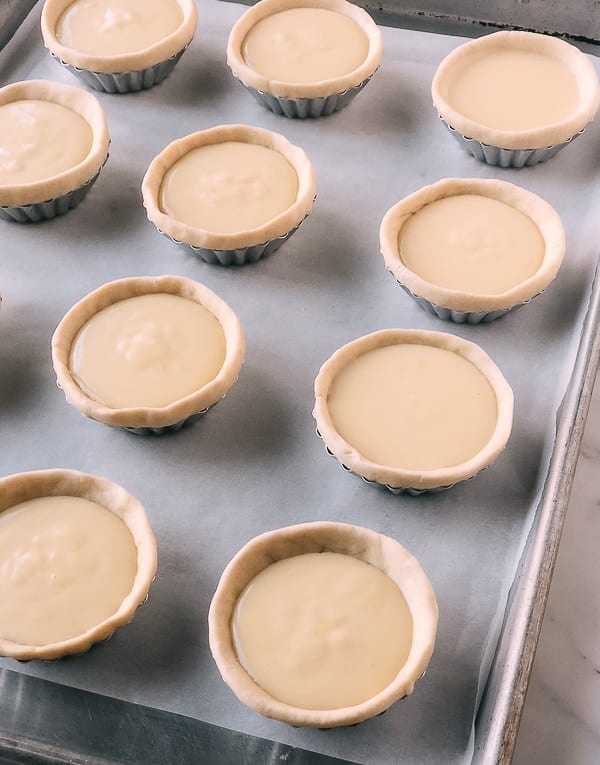
Preheat the oven to 475 degrees F (245 degrees C). Place the frozen puff pastry shells on a sheet pan (you can line it with parchment paper for easy cleanup).
Spoon the cooled custard in each shell until the custard is about 3/16 inches below the top of the pastry shell. Work quickly since you don’t want to give the custard any chance of soaking into the pastry. It’s important to have the oven ready to go once you start pouring custard into the shells.
Put the pan on the middle rack of your oven, and immediately turn the oven temperature down to 450 degrees F (230 degrees C). The total baking time for your Portuguese Custard Tarts should be 30 minutes, but check them after 20 minutes and rotate the pan if they are browning unevenly.
After 25 minutes, if the pastry is turning golden brown and you see those signature scorched bubbles forming, you’re on track for another 5 minutes.
If the pastry looks like it is browning too fast, you may want to turn the heat off to let the residual heat finish the baking process. Oven temperatures are not always accurate and may be slightly hotter or cooler than the temperature you set it for, so play it by ear.
When baking is complete, remove the custard tarts from the oven (leaving them in the tins), and place on a rack to cool.
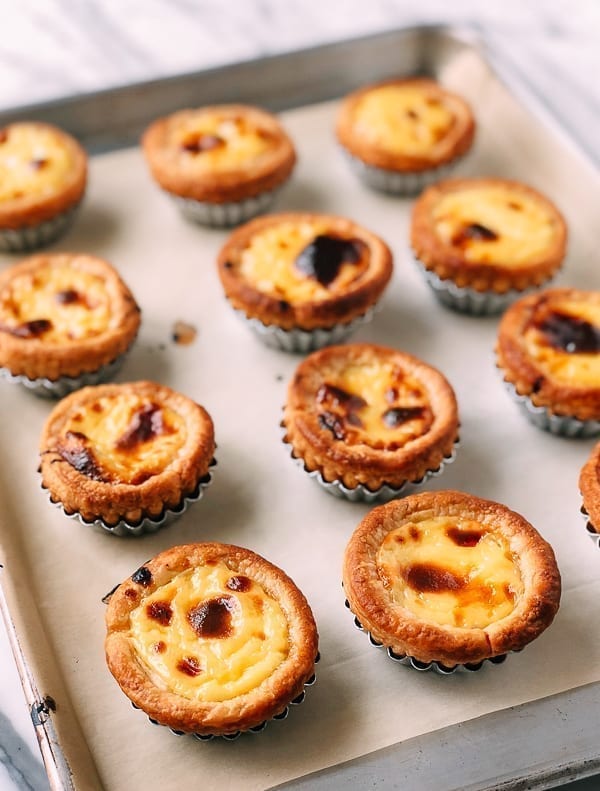
Your Portuguese Custard Tarts will smell incredible, but be sure to wait until they cool, as the custard will be extremely hot.

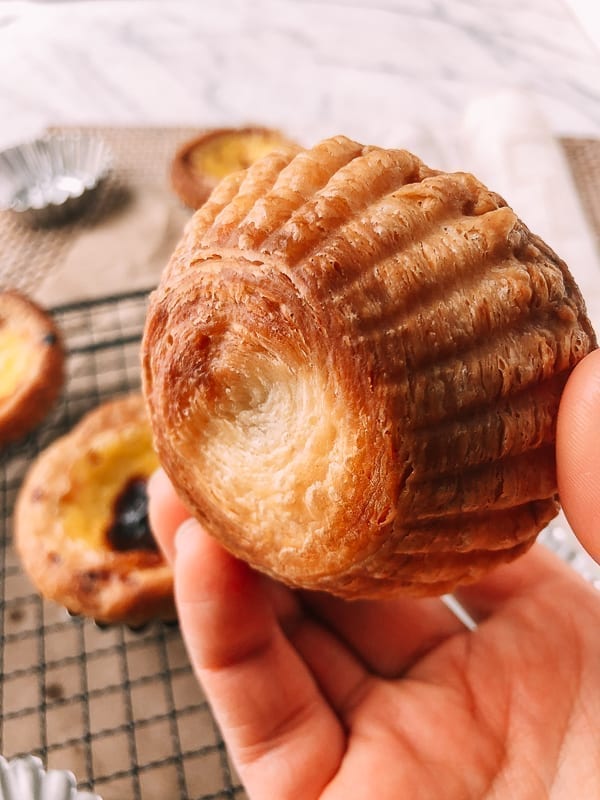
Just look at that flaky crust!
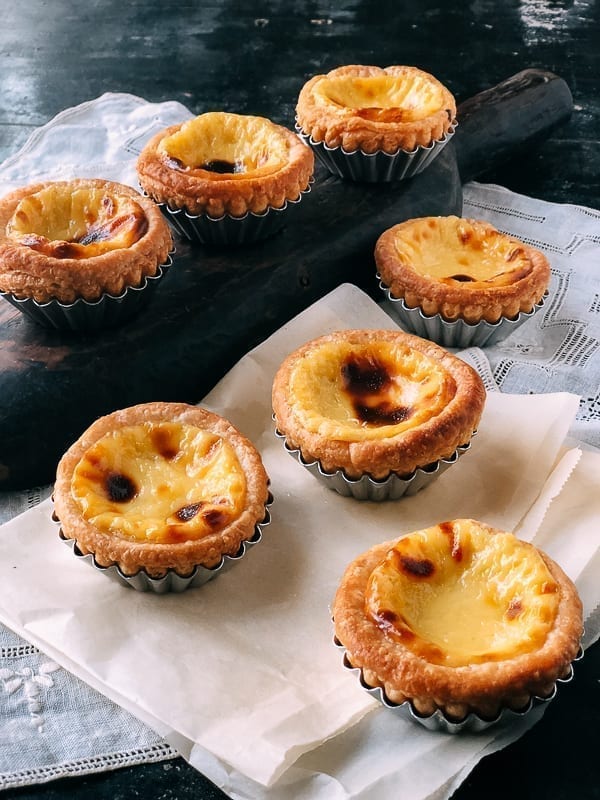
Once they are cool enough to handle, remove the custard tarts from the tins and enjoy them warm, perhaps with a mug of milk tea!
To reheat these Portuguese custard tarts, preheat the oven or toaster oven to 350 degrees F, and heat them for 7-10 minutes until warmed through.
Looking for more authentic recipes? Subscribe to our email list and be sure to follow us on Pinterest, Facebook, Instagram, and Youtube!
Recipe

Portuguese Custard Tarts (Pasteis de Nata)
Ingredients
- 420 g homemade rough puff pastry (Note: you really should use our homemade puff pastry recipe to get an authentic tasting Macau Egg Tart. Store-bought puff pastry is just NOT the same!)
- ½ cup heavy cream (35% fat dairy cream, 118 ml)
- ½ cup sugar (granulated white sugar, 115 g)
- 1 ¼ cup whole milk (300 ml, 3.5% milk fat)
- 2 egg yolks
- 4 teaspoons cornstarch (11 g)
- 1¼ teaspoon vanilla extract
Instructions
Make the pastry shells:
- Roll out the puff pastry into a 10×12 inch (25×30 cm) rectangle. From the 10-inch side, start rolling the pastry into a tight roll until you have a 10-inch long roll. Return the pastry to the freezer for 30 minutes to chill until firm.
- Cut the chilled pastry roll into 12 equal disks that weigh about 35 g each (cut the pastry in half twice, and then cut each of the remaining 4 pieces into 3 equal pieces to get a total of 12). You can also use a ruler for this purpose. Start with 6 pieces first, wrap the rest up, and put them back in the refrigerator or freezer to keep them chilled.
- On a very lightly floured surface, place each piece of dough so the swirls in the dough are facing up. Use a rolling pin to roll each piece into a flat disc about ¼ inch wider than the diameter of the tin and about 3/16 inches thick. Use flour sparingly when rolling out the discs. Using a pastry scraper or metal spatula to lift the discs will help keep them intact.
- Place each disk onto the bottom of each custard tart tin and press the dough onto the tin. When you spread the dough into the tart tin, form a lip that sits on top of the perimeter of the tin. This is crucial for preventing the custard from overflowing. Work quickly so your dough doesn’t heat up. Have some all-purpose flour on the table in case the dough sticks to your fingers, and as you press the dough against the bottom and the sides of the tin, try not to overwork it.
- Freeze the finished tart cups for at least 35 minutes or until frozen. You can make the pastry tins ahead of time and keep them frozen for up to 2 weeks.
Make the custard filling:
- Whisk ½ cup heavy cream, ½ cup sugar, 1¼ cup whole milk, 2 egg yolks, 4 teaspoons cornstarch, and 1¼ teaspoon vanilla extract in a small saucepan until the sugar is dissolved.
- Place over medium low heat, continuing to whisk until the mixture begins to coat the sides of the pan. Patience and low heat are key to a successful custard. The custard should get just hot enough so you see steam beginning to form. This is your signal that the custard is almost ready.
- When the custard is thick enough to coat a spoon, remove from the heat and continue to whisk, ensuring you scrape the sides of the pan. Whisk until it is no longer hot. Do not cook the custard into a pudding, or it will dry out too much during baking! It’s a fairly thin consistency.
- Set aside to cool completely, pressing plastic wrap onto the surface of the custard so a skin does not form on top.
Assembly and baking:
- Preheat the oven to 475 degrees F (245 degrees C). Place the frozen pastry shells on a sheet pan (you can line it with parchment paper for easy cleanup).
- Spoon the cooled custard in each shell until the custard is about 3/16 inches below the top of the pastry shell. Work quickly since you don’t want to give the custard any chance of soaking into the pastry. It’s important to have the oven ready to go once you start pouring custard into the shells.
- Put the pan on the middle rack of your oven, and immediately turn the oven temperature down to 450 degrees F (230 degrees C). The total baking time for your Portuguese Custard Tarts should be 30 minutes, but check them after 20 minutes and rotate the pan if they are browning unevenly.
- After 25 minutes, if the pastry is turning golden brown and you see those signature scorched bubbles forming, you’re on track for another 5 minutes. If the pastry looks like it is browning too fast, you may want to turn the heat off to let residual heat finish the baking process. Oven temperatures are not always accurate and may be slightly hotter or cooler than the temperature you set it for, so play it by ear.
- When baking is complete, remove the custard tarts from the oven (leaving them in the tins), and place on a rack to cool.
- Your Portuguese Custard Tarts will smell incredible, but be sure to wait until they cool, as the custard will be extremely hot. Once they are cool enough to handle, remove the custard tarts from the tins and enjoy them warm!
- To reheat these tarts, preheat the oven or toaster oven to 350 degrees F, and heat them for 7-10 minutes until warmed through.
Tips & Notes:
Nutrition Facts